|
|
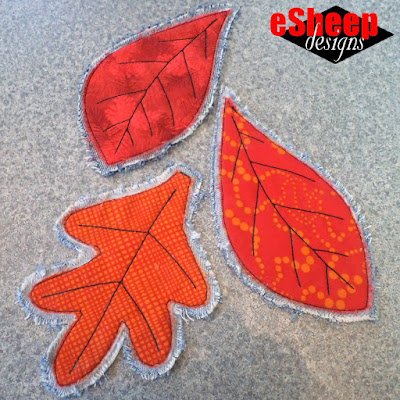
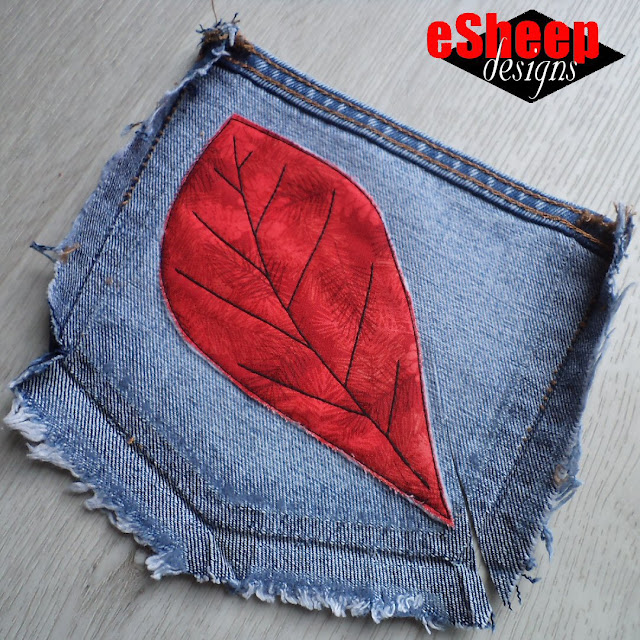
Denim backed fabric leaves... |
I'll be sharing with you how I made some
leaves out of autumn-toned fabric. In my case, they'll end up hanging in my
front window after summer is officially over. (On that note, I've seen some of our trees turning colour already.)
Once you've made these, you can put them to use in a variety of ways. From
simply scattering them on your table top as decor for fall gatherings to
creating a garland or bunting to hang from a mantle, the possibilities are
limited only by your imagination.
Here's what you'll need to make these autumn leaves:
Watch live classes for FREE at CreativeLive!

[affiliate link]
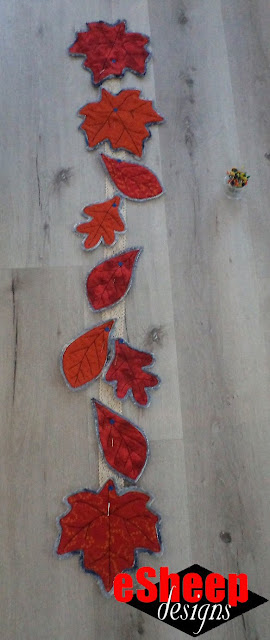
At first, I thought of suspending the leaves one on top of another
along a strip of fabric, bias tape, or ribbon. That's when I thought
this arrangement (at right) might work. But when I measured, it was
longer than I wanted it to be. Moreover, I didn't like the look of the strip of crochet lace underneath as much as I thought I might.
Check out crafty classes at Creativebug!

[affiliate link]
Anyway, in this particular situation, I went with a Plan B. I decided to arrange the leaves in a quasi-connected fashion and then somehow join them on the back.
- leaf templates
- fall coloured fabrics (mine came from here and here)
- denim scraps (mine were left over from these projects)
- fusible fleece
You may recall that about a month ago, I posted about looking for leaves.
If you want some instant ideas for leaf templates, check it out
here.
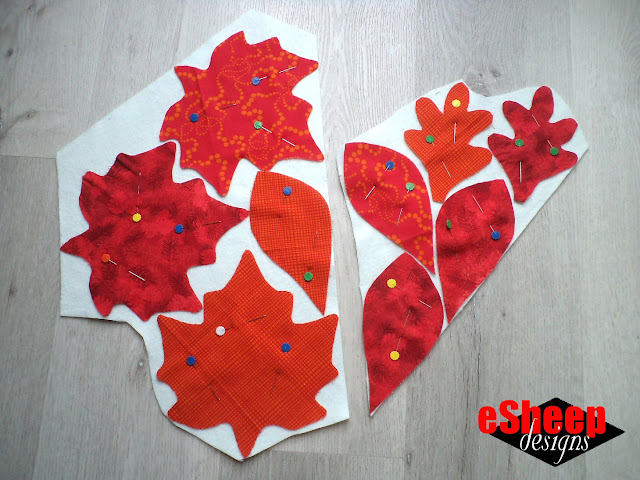
With your chosen templates, cut leaves out of fabric and then pin
them to fusible fleece interfacing. (What side against what? Go with fusible side up, but it may not be that important no matter what you choose.)
Cut around the leaves just enough to separate them, so you can work
with each of them individually in the next step.
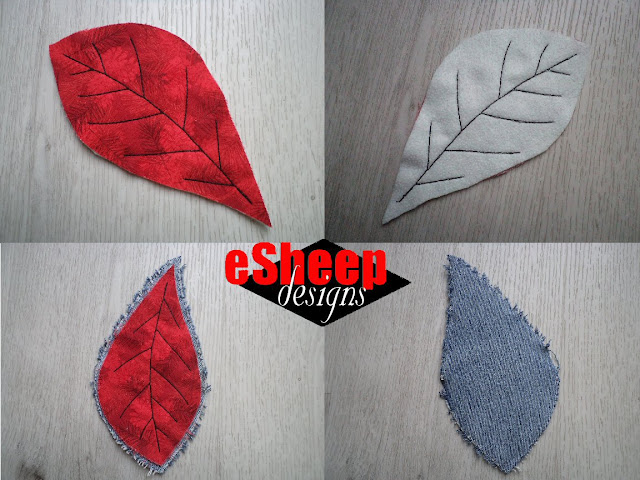
2. Sew Vein Patterns Onto Leaves
Starting at the bottom of a leaf, sew a "main vein" all the way to
the tip and then come back. On the way back, divert your stitching
to form the secondary veins, doubling back on those to return to the
main vein, etc.
Once you've completed the veins, trim the fusible fleece to match
the shape of the leaf. I used a black thread here and liked the
result; a lighter thread will make the veins harder to see
(if you want that).
3. Secure Onto Denim Backing
Place the leaf down on top of a piece of denim that's large enough
to maintain about a 1/4" (6mm) border all the way around. Sew the
leaf onto the denim as close to the edge as possible.

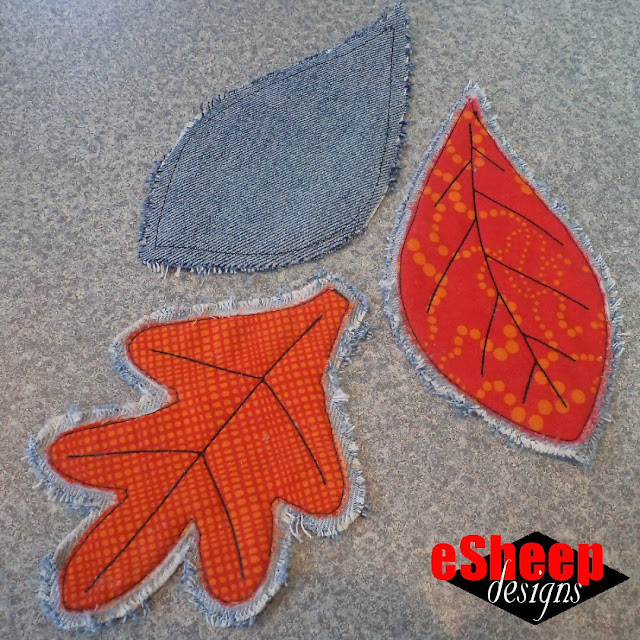
4. Rough up the Denim
Press the leaf with a hot iron to fuse the fleece to whatever
surface you chose. Then, with your fingernails or perhaps with the
help of an old toothbrush, scrub the edges of the denim to rough
them up and fray them.
|
| Arrange into a pattern of your liking... |
I liked the resulting "fringy-ness" of the edges, probably because
they remind me that fall leaves are typically rough around the
edges. (I had recently been introduced to this scrubbing technique
by some YouTubers who used it to create amazing contrasting
textures on their denim recycling projects.)
All that's left now is to decide how you want to use your leaves. My
plan to display them in the window was not yet fully mapped out as
to how I would do so. If you're considering something similar —
i.e., a wall or window hanging — the next step is to figure out what
your preferred layout might be.
[I also tried using the waistbands of old jeans as the supporting strip but didn't care for that either. In the end, if I truly wanted to go with this effect of "dropping leaves", I would likely have used a strip of vinyl to make the whole thing as invisible as possible.]

Anyway, in this particular situation, I went with a Plan B. I decided to arrange the leaves in a quasi-connected fashion and then somehow join them on the back.
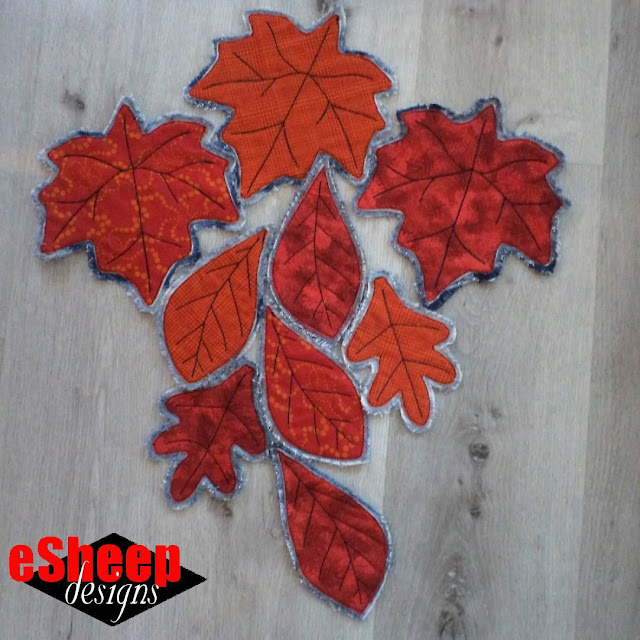
This was an arrangement that I considered for a long time.
 |
| What's wrong with this one? |
However, in the end, the overall shape reminded me too much of the kite that hangs in the window during the summer. (It was also reminiscent of a cross, which was totally not the impression that I was going for.)
I'll show you what I ended up doing with my autumn leaves in an upcoming post.




Love a project that doesn't require me to edge with bias tape, cuz i never get bias tape to look good./Kris
ReplyDelete