|
|
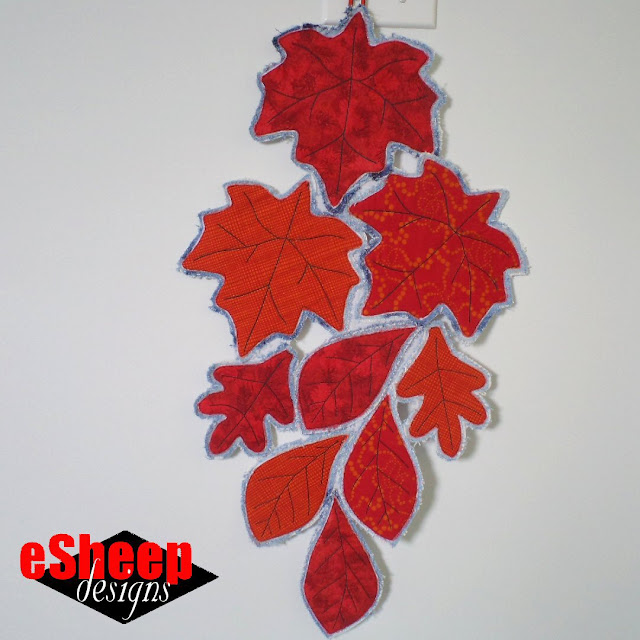
My finished fall leaf window hanging... |
When I last left off, I was trying to determine the best way to
arrange those nine leaves, having tossed aside several attempts.
The one that I eventually settled on (shown here) is somewhat similar to
the "kite/cross" shaped arrangement from the other week, but different enough
that it won't elicit any unintended comparisons.
One of the objectives I was going for — apart from having it look good —
was to have the leaves as fitted together as possible, with minimal space
between them.

The method with which I chose to complete this window hanging was to fuse some Pellon SF101 interfacing to the back of the leaves so that the entire arrangement can become one piece, without actually stitching them together in some way. (Note that there's no reason you can't use some other type of interfacing, although something lightweight is probably best.)

|
|
The back of leaves before fusing the interfacing... |
In this case, the fusible side of the interfacing can only go in one direction, face up against the back of the leaves. At this time, however, do not fuse anything just yet.
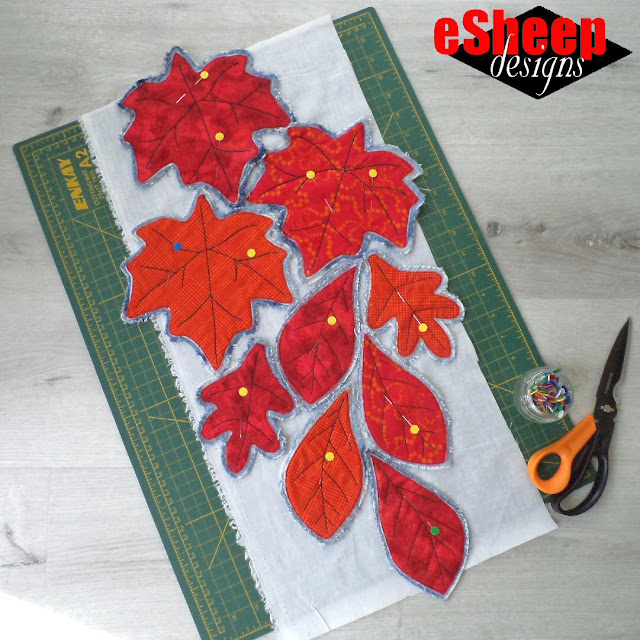
Use pins to secure the leaves to the interfacing. Optimally, your
arrangement should pack the leaves as closely together as possible,
minimizing any gaps.

|
| Leaves pinned to interfacing... |
Once the leaves are pinned in place, trim away the excess interfacing from
the perimeter, cutting about a 1/4" smaller all the way around; i.e., try
to keep the interfacing away from the frayed outside edges of the leaves.
Now you can fuse the interfacing to the back of the leaves. Use a
pressing cloth
or maybe some fabric scraps to cover the open areas of interfacing between
leaves.

|
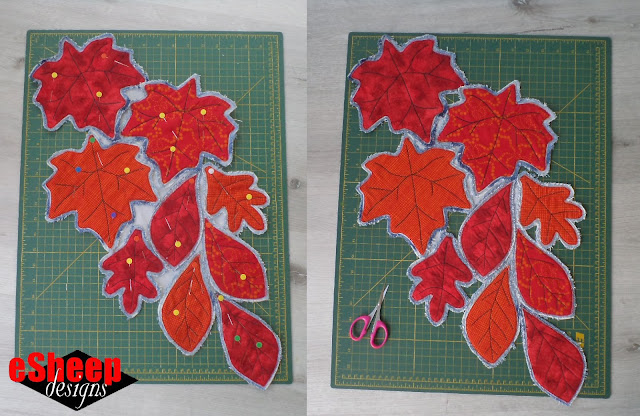
| Cur away extraneous pieces of interfacing along the outside of the arrangement... |
Next, with a pair of detailing scissors, cut out and remove any
significantly obvious "white spaces". (I only had to cut away four areas.)

|
| Cut out any large openings between leaves... |
That was the order in which I did those final two steps. If you pin
securely enough, you may be able to remove the gaps first before
fusing the whole thing. (Whether or not that's doable will depend on the
layout and style of leaves that you use.)

All that's really left to do is sew a cord at the top for hanging. If it's meant to be a wall hanging or table topper, there's no need to do anything with the back of this.

|
| Closeup view #1... |
In my case, it will hang from my front window, so I will see the
back of it from the inside. On the other hand, when I have my computer
in its
"standup" position, it hides most of the area that's covered by my various window decor.

|
| Closeup view #2... |
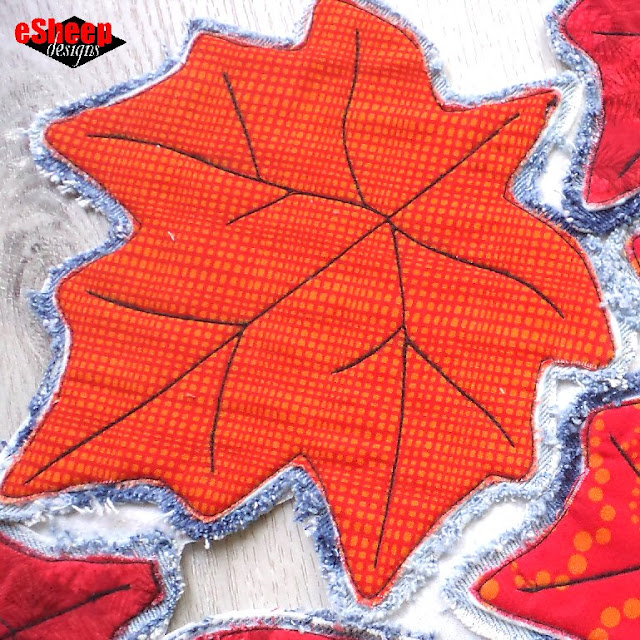
As an idea for what can be done with the back, I took a few colouring
pencils and drew the outlines and veins of the leaves. I kept the
markings light, because a second idea is that you can then hand stitch over
them with embroidery thread.
I haven't decided yet if I'm going to do that; it will depend on how
ambitious I'm feeling about the whole thing before the first day of fall
rolls around.

Not sure if what I ended up making is anything like I what thought I'd
make when I first looked for leaf templates back in April, but
I'm happy with this result. A little bit of
crafting on the fly
is always good and keeps the mind alert.

|
| As a wall hanging... |
I like the idea of how a bunch of individual elements — that were kind of zen-inducing to make, by the way — can be used to create final projects very different from one another.
Aren't those the best kind of sewing ideas?


Love this project and am very glad it made you happy in the creating and happy that you will enjoy it for the months ahead. Happy Fall.
ReplyDeleteThank you for the lovely feedback. I do hope for a happy fall, to offset the fact that it's my least favourite season.
DeleteYour idea turned out really snazzy! I like it!👌💖💖
ReplyDeleteThank you! It's always good to have an unplanned effort turn out nice. ;-)
Delete