
|
My wedge quilting project...
|
I am finally at the end of my series on math in sewing. (And not soon enough,
it seems, for many of you... LOL! My stats for the
last post
in this series showed a drop of over 55% in the number of subscribers clicking
through from the week before. I found that insanely funny since – even at ten
years in – I still have
no clue what makes for a popular post!)
Anyway, two weeks ago, I left you with the building blocks to make your own
bargello quilted tiny table topper with the help of a
DIY wedge ruler.
If you had the time and temerity – or, frankly, any interest at all
– to go ahead and make one, I would love to hear about it below and/or see
your work. (As always, my email can be found if you click through to my
Blogger profile down on the sidebar at left. I welcome photos
from readers who are inspired to make something I've featured.)
For
those who wanted first to see what I decided to do, well, here it be.

|
|
Hedgehog on the go...
|
I don't remember when exactly I bought it, but this stuffed hedgehog came
from the roadside flea market near Enderby, British Columbia. How weird that
years later, I would end up with fabric (
Lily and Loom) featuring hedgehogs!

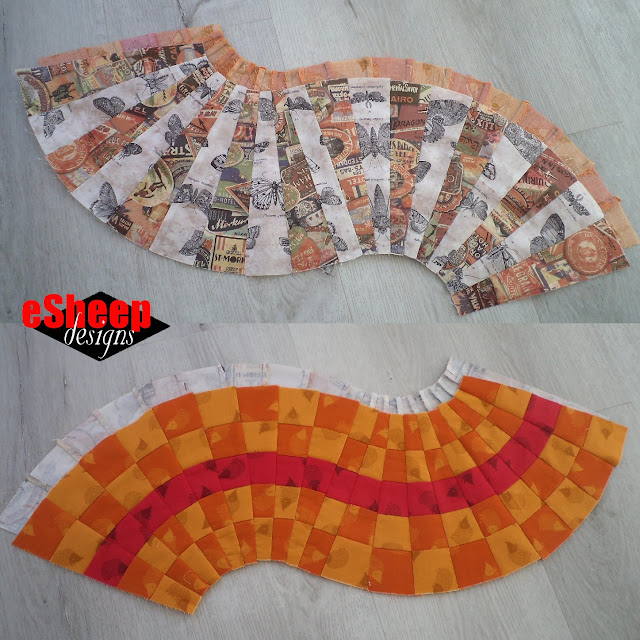
My original plan was to do a half size topper and use the hedgehog themed
fabric wedges for both the front and back. But when I sewed together the
first nine wedges, I thought the result was too small and switched
directions entirely. I ended up making option 1, the lazy "s" curve.
For the back, I grabbed a couple of my
Tim Holtz Eclectic Elements fat quarters to turn into wedges.
|
|
Bargello on one side and regular wedges on the other...
|
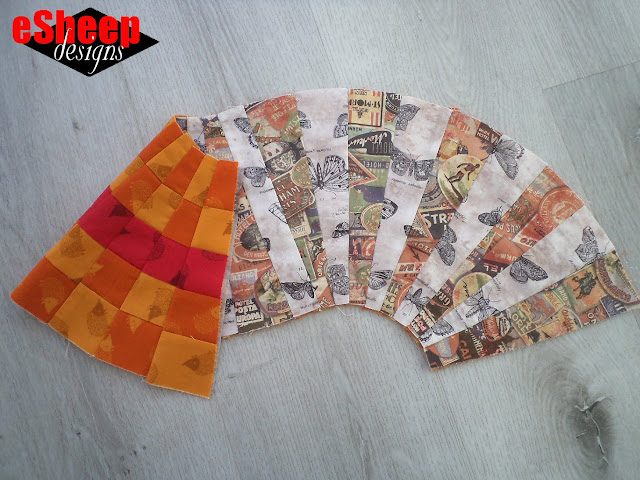
One of the selections is called
Butterfly (in
Cappuccino Brown) that I wasn't overly fond of; it's too
entomologic
for my tastes. (I had the same selection in red that I used for my
wall organizer
years ago.) The other selection is
Travel Labels, which was last seen on my
mini notebook cover. While totally unrelated in a thematic sense, they provide good contrast
together.
|
|
Ensuring that it all matches back to back...
|
I mentioned briefly last time that making a back to back version like this
requires some careful planning due to the mirroring. One of the
unexpected outcomes here was that I ended up needing ten wedges of one
fabric and eight of the other (plus the straight strip), rather than the
nine and nine of the bargello pieced wedges. Not a problem since fat
quarters are wide enough to allow for additional cuts.

|
|
Adding fusible fleece in between...
|
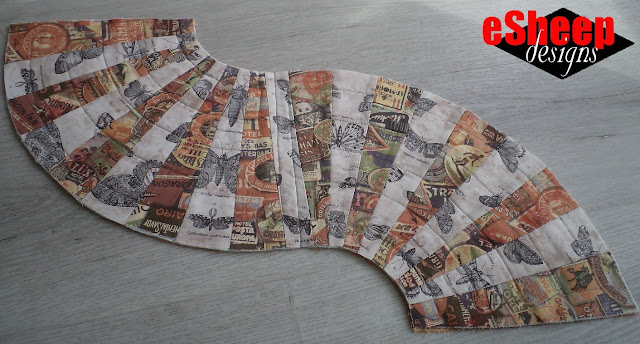
I also said last time that quilting along seam lines may not turn out
as well when you have back to back pieced fabric... if it's out by a
tiny bit, it may not line up on the other side. In my case, I also
didn't want to cover up the hedgehogs too much with a bunch of
quilting lines, so I simply started on the middle (straight) strip,
came down and then turned to quilt in the middle of each
original fabric strip, following along the curve. Then I repeated the
process for the other half.

|
|
Adding minimal quilting...
|
I would suggest that you quilt according to some feature – be it seam
line or pattern – on the bargello side if the other side is not
bargello. It's what I did for the original table topper from a few
weeks back.
Watch live classes for FREE at CreativeLive!
 [affiliate link]
If you look closely here, you'll notice that the middle strip on
this side was
not lined up with the middle strip on the bargello
side. Not going to bother me, though.
|
|
Quilting as seen from reverse side...
|
For the binding, I had mentioned that an 11" square of fabric yielded
sufficient 1.5" binding for this project, using my go-to method
here. Even though the binding is 1.5" wide instead of 2", I managed to
attach it to the back with a seam allowance just shy of 3/8".

|
|
The ends can be bound with regular straight binding...
|
The binding is then flipped to the front side, folded, clipped in place,
pressed well and stitched into place. Tip: if you
encounter the odd section that seems too "tight" when you do the flip
and fold, simply trim away some of the material.

|
|
This is the difference that pressing with a hot iron makes...
|
In the above two shots, you can see how many clips were needed to hold
the folded binding in place originally. But after a brief stop at the
ironing station, the bottom photo shows how heat and steam helps keep
everything in place. It makes the sewing so much easier to do.
|
|
View of both sides of finished tiny table topper...
|
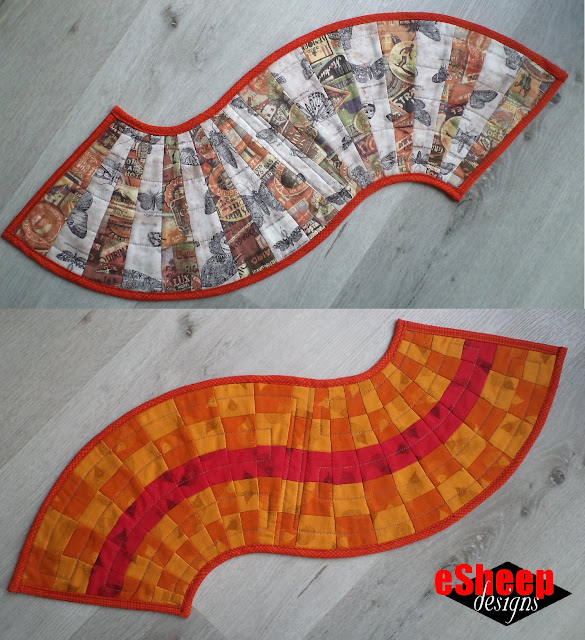
This was a very quick project to put together, even with all the
cutting. (Didn't I promise that it would be?) I'm quite tickled with
mine, as I finally managed to achieve the curviness that I was looking
for in that previous attempt. Understanding the correct math helps!
Check out crafty classes at Creativebug!
 [affiliate link]
So how much smaller is this tiny table topper compared to
that other one? It's quite a lot smaller; from corner point to corner point, it's
only 25.5" across.

|
|
A tale of two table toppers...
|
But don't you just get a kick out of how the both of them look
when stacked up? (You would have thought that I planned it that way.)
|
|
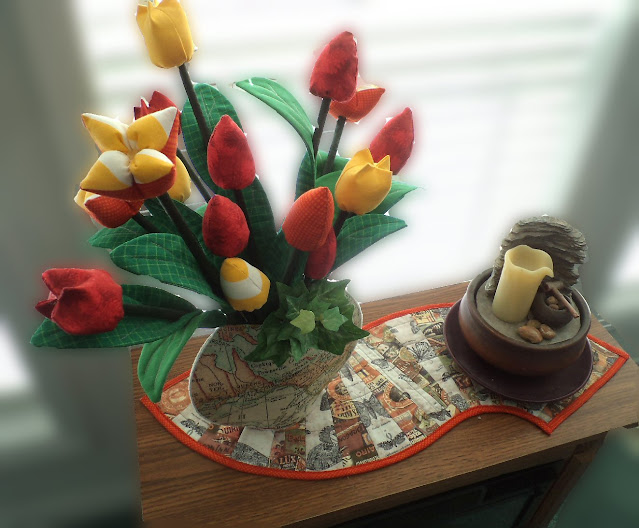
This one fits the top of our electric fireplace better than the
other one...
|
So tell me, if you haven't made one already, have I changed your mind at
all? If so, there's still time to churn out a couple for holiday gift
giving!


Hi Rochelle, I enjoy reading sewing blogs for interesting ideas and techniques. This knowledge has increased my sewing skills 1000% … I really never think of making a table runner, but I’m headed back to Conneticut before Xmas and there are many tables there that could use a runner… I am inspired to use all the jelly rolls I’ve been collecting! Thanks for the interesting ideas and techniques. Marie
ReplyDeleteAs usual, thank you for the praise. I am pretty sure that had I been gifted with a table runner at some "in between" (sewing) point in my life, I would have appreciated it. (I've still got another idea that I want to try out... perhaps in the new year.) Good luck with your Christmas crafting!
Delete