
|
| A wedge ruler you can DIY... |
It was at once a surprise – and yet not a surprise – to discover that
quilting wedge rulers are math-based. The wedges are determined by their
angles, measured, of course, in degrees.

|
| Example of a wedge ruler you can buy... |
Once I had those basic facts, I decided to go back and see how far off my
template was for the table topper.
To do this, however, I needed a protractor.

You'd think that a former math major would have a math set somewhere in the cobwebs, but no. I briefly entertained the idea of popping into my local dollar store to buy one, but then it occurred to me that images of protractors are likely all over the internet. Thus it was that I printed one out, attached it to some cardboard and presto! A DIY protractor. Easy peasy.
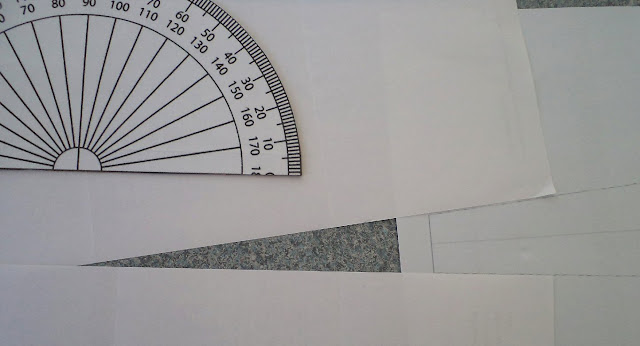
To measure an existing wedge template, you have to finish drawing – or somehow
extend – the sides of the wedge all the way down to a point in order to
use a protractor.
|
| Extend to a point; i.e., to 0 degrees... |
Here's how to do it.
Take a couple of sheets of paper and line them up along both sides of the
wedge as shown above. Place the middle of the protractor right at the
intersecting point. (If you have an actual protractor, it may have a tiny
pinhole right there for more accurate placement.)
|
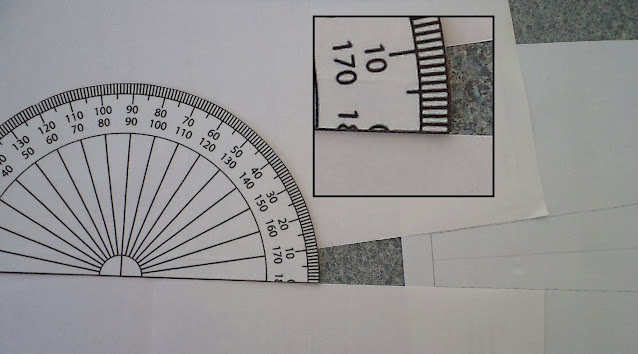
| Protractor shows this wedge is 10 degrees... |
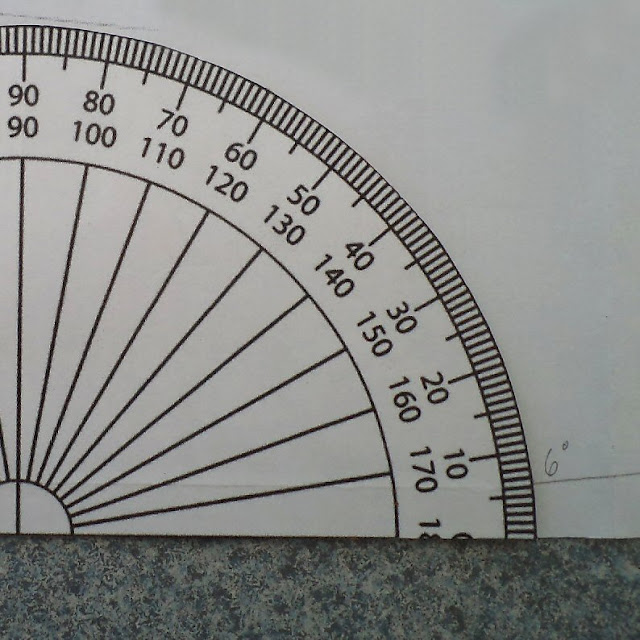
The reading on this example shows 10 degrees (shown more clearly in the inset
with the closeup view).
As it turns out, the wedge template I made for my curvy table topper
measured only 6 degrees. When I investigated further, the ruler that the
designer used was 7.5 degrees.
With that out of the way, we can get to the actual topic of today's post,
which is to make your own 10 degree wedge "ruler".
Because the fact is, buying one of these is going to cost you. (If you're
not likely to use one again and again, there are probably other things you
can spend your money on when it comes to sewing.) For example, when I looked
at the one from Creative Grids at the top of this post, it was on sale for $10 off... but the price
was still $38.99. (That's $CDN; those of you stateside will see a lower
price.) There is just no way that I am going to spend forty bucks on a
specialty ruler. My 6" x 24" Omnigrid did not cost me that
much.
I've already covered how to DIY this, but you will need a protractor of some sort if you want to make a wedge ruler.
Gather up the following: pen/pencil, protractor, double-sided tape, regular
tape, sheet of heavy stock paper, rotary cutter/scissors, large cutting mat
and a long ruler. You'll also need some sturdy flexible plastic such as
described in
this post.
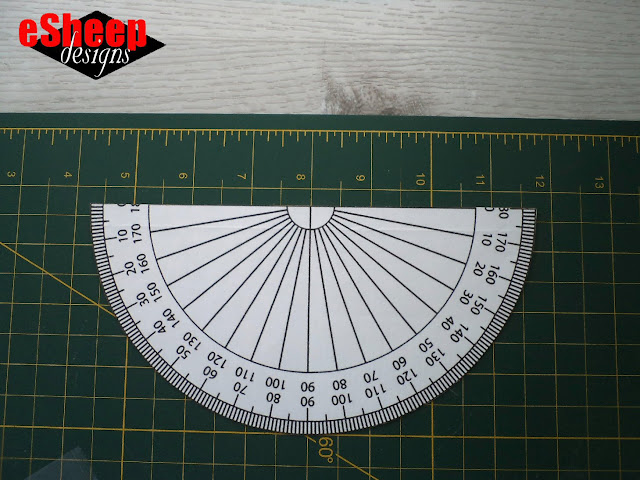
Put some double-sided tape onto the back of your protractor and secure it
onto your cutting mat, ensuring that the 0 and 90 degree markers are on a
vertical grid line and that the curved edge of the protractor is just
touching a horizontal grid line
|
| Put down protractor... |
Place the sheet of paper 1.5" below the protractor. Tape it down so that it
doesn't move.

|
| Put paper 1.5" below protractor... |
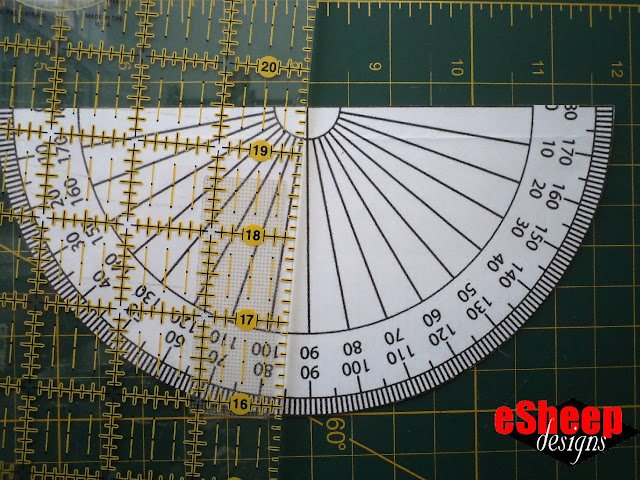
Position your ruler so that it touches the 0 degree mark of the protractor
while lining up with the 85 degree measurement. For best results, ensure
that you look down directly over the protractor.
|
| Align ruler at 85 degrees.. |
Draw a line down the entire sheet.
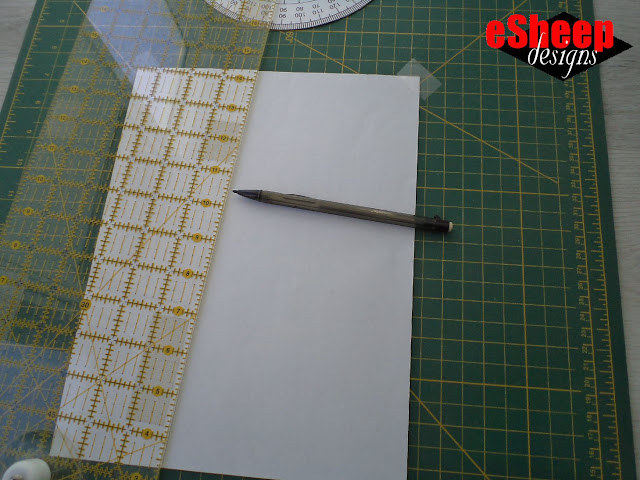
|
| Draw first line of template... |
Swivel the ruler so that it stays at the 0 degree mark but this time lines
up with the 95 degree measurement.
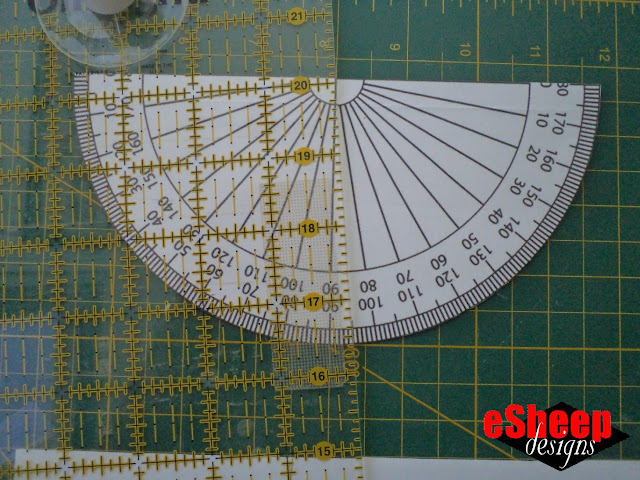
|
| Align ruler at 95 degrees... |
Draw a second line down the entire sheet.
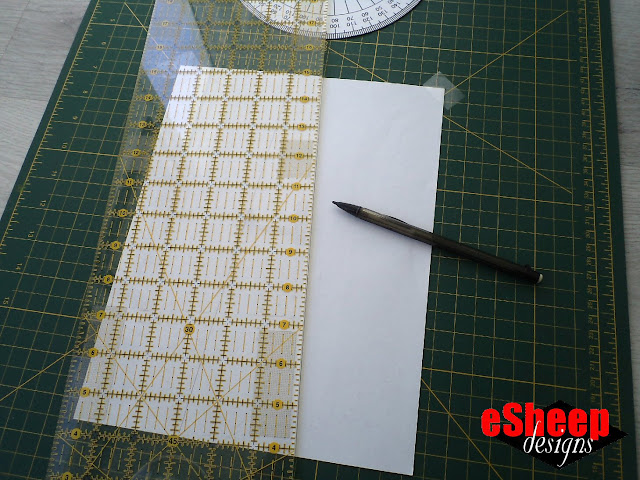
|
| Draw second line of template... |
While the paper is still taped in place, draw lines 1/2" apart along the
entire length of the wedge, making use of the grid markings on the cutting
mat.
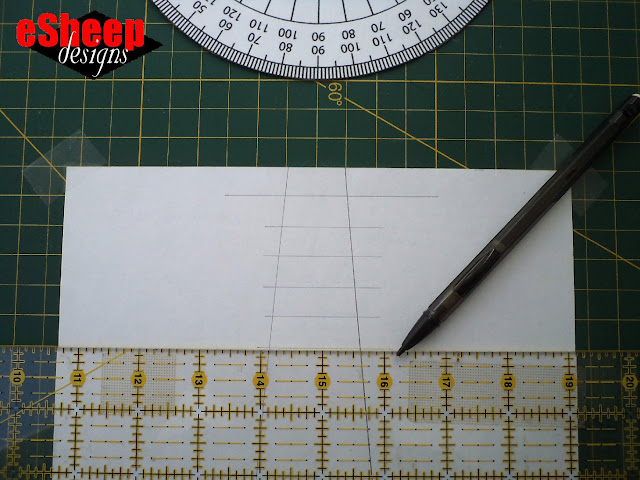
|
| Draw lines at 1/2" intervals down the entire wedge... |
You may also want to indicate the inches with actual numerals,
too. (I forgot to do that!)
Next, measure off a 10" total length for the template.

|
| Finish drawing the full template... |
Measure out and draw a smaller wedge on the inside, leaving a 1/4" border
all around. If your lines have been lightly drawn to this point, darken them
up appropriately and then cut out the wedge shape.
Using the paper template, cut a matching wedge out of the stiff plastic and
set aside. This type of plastic is easily scored with a rotary or box cutter
(if using your rotary cutter, you should have a blade reserved for cutting
non-fabric materials), enabling it to be broken apart by simply bending
it back and forth.

|
| Make a plastic copy of the template... |
Take the paper template and cut out the inside wedge to leave just a 1/4"
border. Using your choice of double-side tape and/or regular tape (I
actually used both), very carefully adhere the paper border to the plastic
wedge.

|
| This part can be tricky! |
You can now see through your wedge "ruler".
If these final steps don't work out so well, you can always go back and
redo the paper part. (I was able to do this using just regular paper, so
if you choose something heavier, it will be less tricky.) Also, if you
feel the 1/4" border is too small; you can always try 3/8".
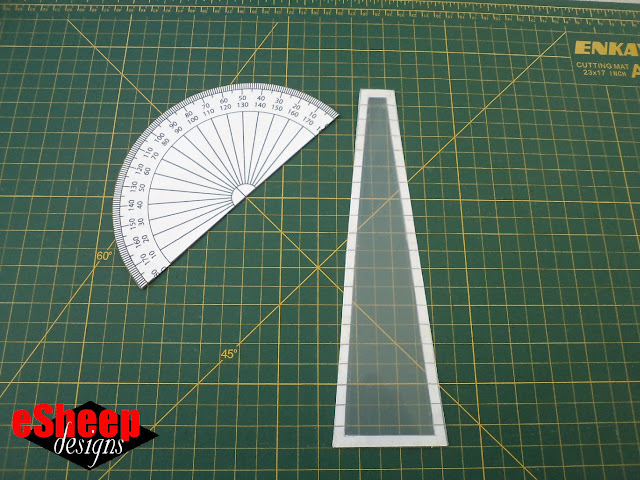
|
| A couple of serviceable DIYs! |
And if you don't have any flexible plastic, you can just make this out of
cardboard and customize the total length of the ruler to the project
requirement. (I will discuss this further next week in relation to an actual
project.)

This DIY wedge ruler would have produced much better results for my curvy table topper project. However, that is all water under the bridge as I have my own bargello wedge quilting project to share with you next week. And that's when we'll put this little ruler to the test!
It is
Remembrance Day
today here in Canada and I know for a fact that many countries observe
November 11 in some way for the same reason. Given the present state of our
world, please take a moment to remember and honour those who bravely went
before us to fight for better lives... and understand that the fight doesn't
end with them.



You are brilliant! ✨🏆Thank you, I will save this post in OneNote. Now I need a DIY for the triangle-in-a-square block. 😁
ReplyDeleteJust looked up what a triangle-in-a-square quilt block is... nah, not going to attempt that! But thank you very much for the declaration of brilliance. ٩(^‿^)۶
DeleteIn order to position a triangle in a square, you will first need to draw a circle in the square (the diameter should equal one of the square sides) then it’s easier to position the points of the triangle by dividing the 360 degrees of a circle by 3, and placing the triangle on those points.
DeleteMarie
Great answer from a mathematical perspective, Marie! From the weird world of quilting (LOL), that won't solve the challenge. The triangle in question is a "near equilateral" triangle and from what (little) I've read, the whole process can be tricky to execute without proper tools and precise sewing.
DeleteHi Rochelle, you are my hero with this post! I also encountered the very expensive wedge ruler situation when I tried to follow a pattern for a carrot. No, I never made the pattern and never figured out the wedge idea… so thanks for this! It’s brilliant! It reminds me of watching carpenters try to cut molding by a bay window… they wasted lots of wood trying to correctly guess the angle- so your advice of drawing the angle to the point is really the trick here! Brilliant concept! Thanks, Marie
ReplyDeleteOh my — I always thought carpenters would be very adept at using the proper tools!
DeleteA carrot, you say? Well, perhaps now you can go back to it and see what it was that drew you to the pattern. Or maybe just wait for my little project drop next week. ;-)
As usual, thanks for the high praise!
ok your plan is cool i agree with it
ReplyDelete\(^-^)/
DeleteSweet! I'm going to make this wedge just so that I can say I made it. Thank you.
ReplyDeleteWell, that's just about the best reason ever! :-D
Delete