|
|
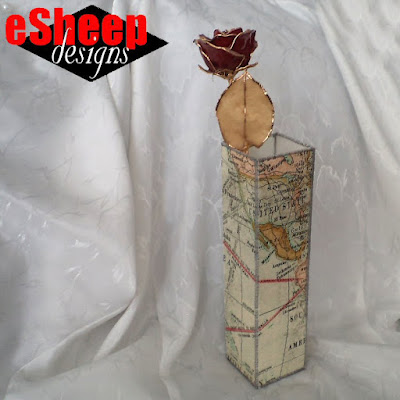
Fabric pieced bud vase... |
More often than not, I look at the item and think to myself, that's going to
take way more than x minutes. Or, worse, if you only take
x minutes, the result is going to look awful.
You probably know that such projects are often named like that to promote
click-throughs. I recently came across one that was titled "5 minute
whatever" but further along in the description, it actually stated that
"you can make this in 10 minutes". Perhaps had I read further still, it would
have turned into a twenty or thirty minute project.
Fudging aside, I suppose if you make enough of whatever these are, at some
point you'll be sufficiently skilled to make one in the shortest time frame.
Otherwise, unless something is truly small and simple — like my
5 minute lip balm carrier
— most things are going to take more than mere minutes to make.
Anyway, now that I've babbled on about this, let me show you how to make a bud
vase in about an hour.
◔ ⌣ ◔
(It may actually only take about thirty minutes,
but I don't want to be an example of one of my pet peeves!)

Several weeks ago, I showed you a fishbowl vase that I made with some Tim Holtz fabric. There was still some of the fat quarter left over, so the week before Mother's Day, I decided to make my mom a bud vase out of it.

Several weeks ago, I showed you a fishbowl vase that I made with some Tim Holtz fabric. There was still some of the fat quarter left over, so the week before Mother's Day, I decided to make my mom a bud vase out of it.

|
| A small vase of tulips for Mom... |
Actually, let me backtrack. My first plan was to make her some
tulips. Then it occurred to me that maybe I should put those tulips
in something.
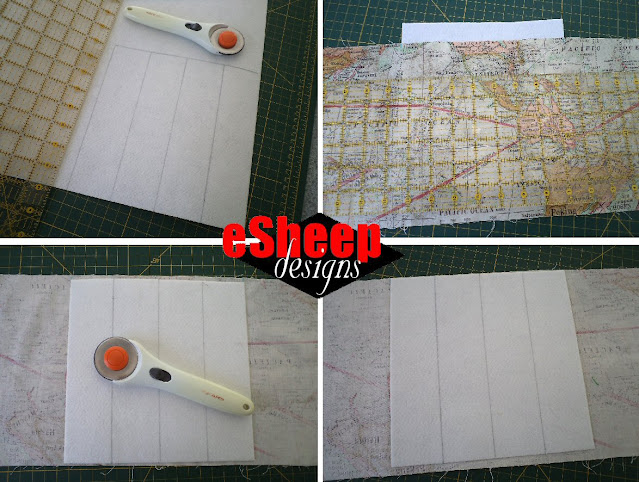
To make this, you'll need to round up two pieces of (single sided) fusible
Peltex interfacing, one 8" x 8" (20cm x 20cm) and one 2" x 2" (5cm x
5cm). You'll also need the same amount of fabric and some matching thread.
|
| Cut Peltex to size, draw lines and and fuse to back of fabric... |
On the non-fusible side of the large piece of Peltex, draw lines to
create four vertical sections that are 2" (5cm) wide. Fuse the interfacing
onto the back of the fabric. As you can see, I had a bigger piece of fabric, so was
able to
fussy cut.
I would suggest that for best results, fuse and then trim up the fabric,
rather than cut the fabric to the exact size as the Peltex and hope
for perfection. In the same way, fuse together the small 2" x 2" (5cm x 5cm) square of interfacing to a corresponding piece of fabric.
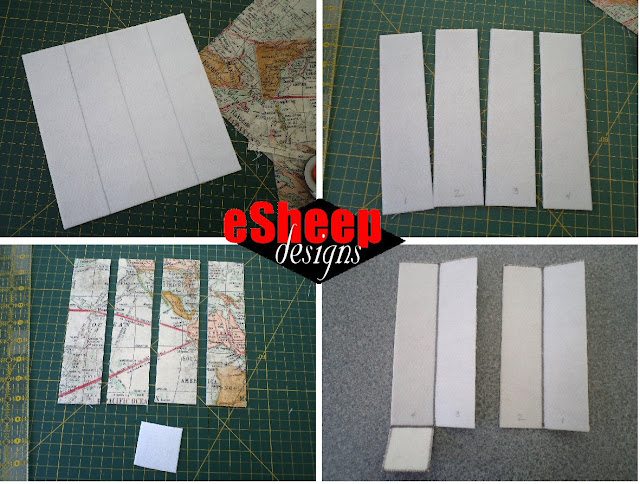
Cut along the drawn lines to create four identical panels measuring 8" x
2" (20cm x 5cm). Whether or not your fabric has an obvious continuous print like mine — but especially if it does — mark the bottom of each panel with a number from 1 through 4, so you can
keep track of which one should be attached to which.
|
| Slice into four panels and zigzag stitch... |
Zigzag stitch around all four edges of the small square piece and along the
short edges of each of the four panels. Then zigzag stitch panel 1 to panel
2, and panel 3 to panel 4. (If you're unsure of how to proceed, check out
this post.)
Attach the small square to the end of one of the panels in the same way.
|
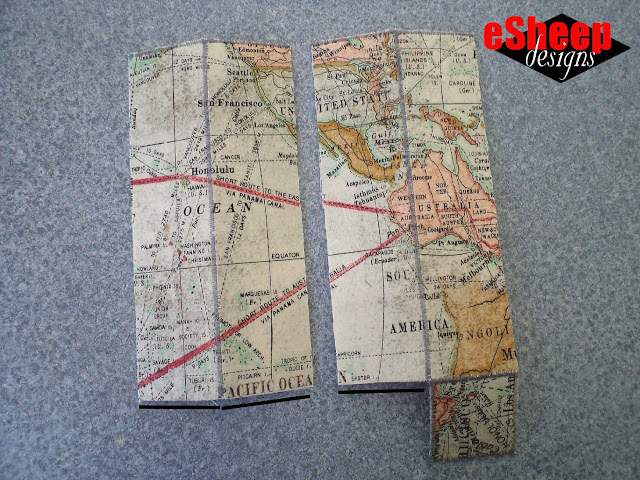
| Zigzag stitch all of the short edges... |
I was moving along so quickly when I sewed this up and took these photos
that I forgot about the bottom edge of the panels. So in the photo above,
the three edges that are marked with a black line should be zigzag stitched
also. (The fact that I ended up doing them afterwards means that it's
not a critical error.)

The next step is to join the two pairs together.
Once joined, fold the entire thing in half so that panels 1 and 4 are stacked
on top of one another (this is shown below as the edge next to the black line); zigzag stitch
together.

|
| The last bit of machine sewing... |
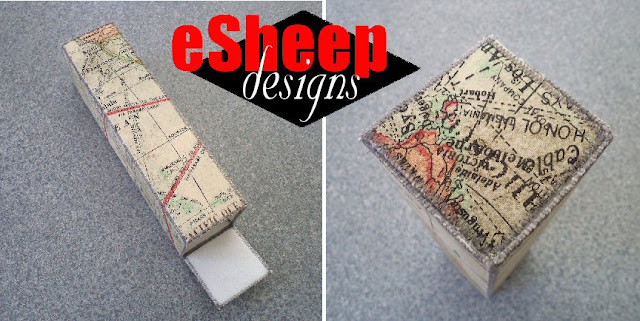
All that remains is to hand sew the bottom base piece to the remaining three
sides.
|
| Hand sew the base... |
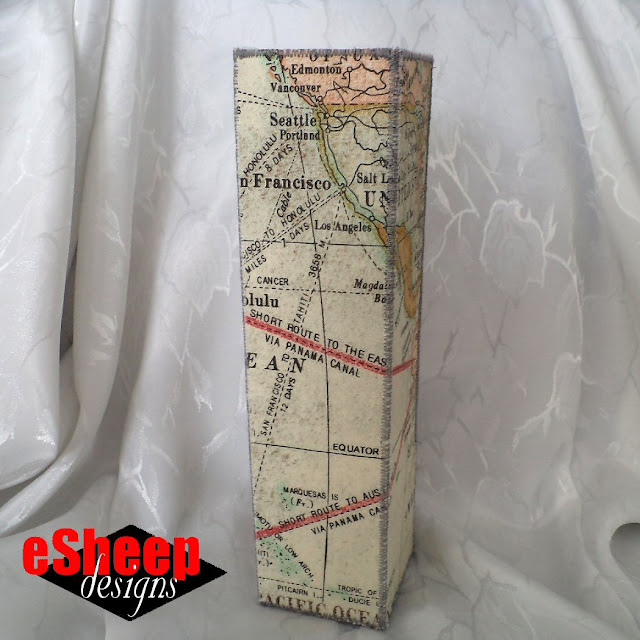
Since the edges have been zigzagged already, whatever stitch you employ to
secure the base won't be visible as long as you use the same colour thread.
|
| Now Mom has a slice of our home city too... |
Final suggestion is to put a small bag of pennies or rocks into the bottom to
weigh it down before using it. It's very light and may fall over otherwise.

|
| View of the bottom... |
What do you think? Is it doable in an hour? I believe so, even with the hand
sewing at the end.
I was originally going to try for a cylindrical vase, but ultimately
decided against it. I wasn't sure that the Peltex would maintain the
shape all the way up. However, perhaps my
selvage project
shows that a cylindrical vase is possible using other materials? Food for
thought.
Check out crafty classes at Creativebug!

[affiliate link]
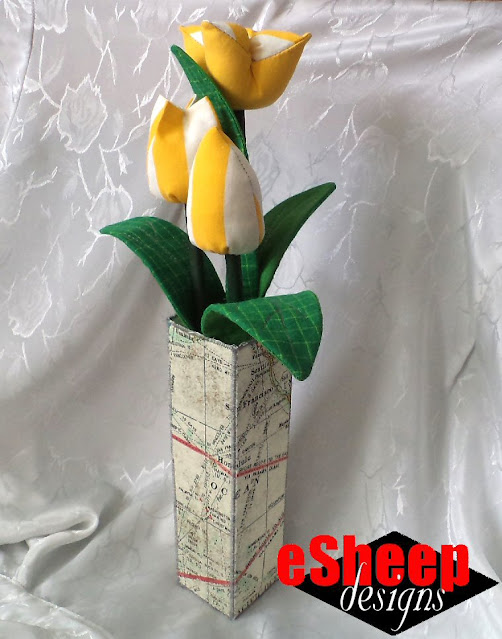
I ended up using my selections of Dollar Tree green fabric to the fullest extent. Including the four leaves attached to these three new tulips, I managed to get eighteen leaves in total. Not too shabby for three bucks and some scraps of fusible fleece.

I ended up using my selections of Dollar Tree green fabric to the fullest extent. Including the four leaves attached to these three new tulips, I managed to get eighteen leaves in total. Not too shabby for three bucks and some scraps of fusible fleece.
|
| Yellow (vertical) striped tulips... |
The three tulips were made out of remnants from my other half's old duvet cover. I made one of each style from Almudena's YouTube tutorial, this time ensuring that the stripes ran vertically.


No comments:
Post a Comment
You have the power to brighten my day. Leave me a comment; I'd love to hear your thoughts... you can even remain ANONYMOUS! And rest assured that I acknowledge all comments, either here or via email. (That is, if you don't see a response from me here, I would have responded privately to the person.) Spam or generic comments with unrelated links, however, are promptly removed... and I may take appropriate action or report you to Google. Thanks for reading! (✿◠‿◠)