 |
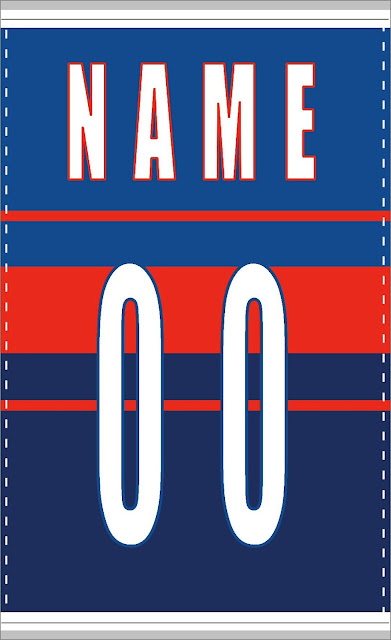
| Double-sided custom banner... |
With an inexpensive wooden dowel from your local hardware store (a 3/8" x 48"
long one will suffice) and about 30" of cordage, you can turn a fat quarter of
Spoonflower's linen cotton canvas into an eye-catching tribute to your favourite major
league sports personality.
Your piece of fabric won't have an even distribution of the white border as the above illustration shows, but there could still be a significant amount of it.
If you would like to get a jump on making a custom banner for the sports fan in your life for the upcoming holiday season, check out my original post here. You can download your choice of a couple of Photoshop or Paint Shop Pro files to create an image that can be printed via Spoonflower.
Grab the fabric on a 50% off sale and my estimate is that your net cost
comes in under $15. The result is a professional looking banner without the
"officially licensed" price tag, perfect for thinking about holiday gift
giving.

|
| Turn your fabric panel into a wall hanging... |
[Aside: There are entire promotions tied to Christmas in July these days,
but celebrating Christmas in July is a little off-putting to me. July is my
month to enjoy summer. On the other hand, August represents what I like to
call a "month of Sundays". In my pre-retirement life, Sunday was a day off,
but it was the precursor to another work week. That's what the entire month
of August has always been like to me... a feeling of, wow, another summer
almost gone already. Exactly what I'm feeling right now as the month draws
to a close. The point is, if I have to start thinking of making things for
holiday gift giving, I'll do it in August and not in July.]
Anyway, a couple of weeks ago, I described and offered up a way to design
the required fat quarter of fabric for a pro sports banner and have it
printed up by Spoonflower. (I realize most of you weren't/aren't
interested in the project, but for the sake of completeness, this post is
going out as planned.)
Now let's talk about how best to turn that piece of fabric into a wall
hanging.
It's probably fairly straight forward as to how to finish the edges of a
single fat quarter to create a hanging banner, but if you're unsure, here's
how I would do it.
Take the white border that appears along the sides of the printed area and
fold it to the back. Press well. (There is usually enough of it to create at
least a 1/4" seam, but if not, use a small part of the printed area.)

|
| Step 1: Fold and press sides edges to back... |
Your piece of fabric won't have an even distribution of the white border as the above illustration shows, but there could still be a significant amount of it.
The next step is to sew a seam along the pressed edges, along the
entire length of the panel. (Trim away excess fabric from the seam
afterwards if necessary.)

|
| Step 2: Sew seams along edges... |
Next, we need to create a channel for the dowel at the top and bottom. This
will be accomplished by making two folds and then sewing a seam.
First, trim the fabric at the top and bottom so that it's straight.
Utilizing as much of the white border as you can, press about 3/8" of the
raw edge to the front. This fold is shown below as a red horizontal line at
the top and bottom.

|
| Step 3: Fold raw edge towards right side of fabric... |
Make a second fold (the gray horizontal line) to create the channel for the
wooden dowel. (In the picture below, the light gray area is meant to depict
the back of the fabric once the first fold has been made.)

|
| Step 4: Make a second fold, to hide the raw edge... |
NOTE: When you make this second fold, have the dowel on hand so that you can
check to see that it will fit through once the seam is sewn. After
confirming this, the final step is to stitch close to the first fold line to
create the channel, as shown below.

|
| Step 5: Sew the channel for the dowel... |
Again, depending on how much of a white border your fabric had, this seam
may end up being located on top of the printed area.
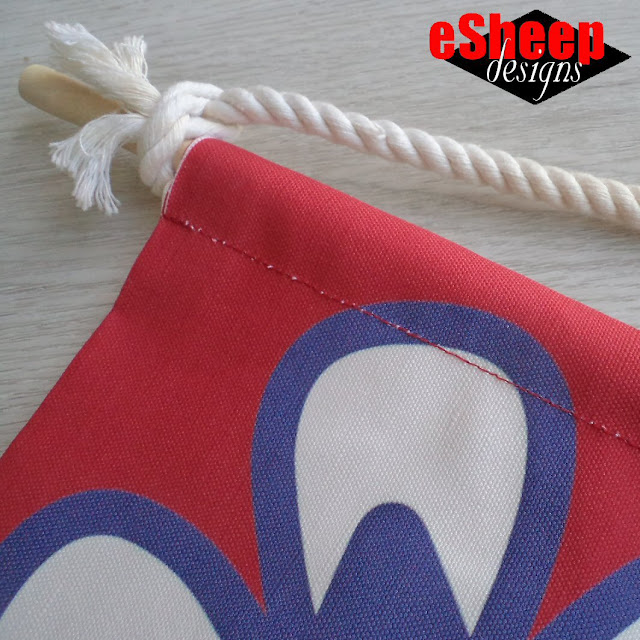
To finish your wall hanging, all you have to do is cut the dowel into two
pieces (you may be able to convince your hardware store to do this for you)
and insert them into the channels. Note that the top dowel needs to be
longer as it will have the cording tied to its ends. (I cut mine to 22" for
the top and 19" for the bottom.)
Attach the cord and you're done!
When I originally came up with this idea, I designed two different panels.
Not having many places to hang more "stuff", however, I decided to sew them
back to back to make a reversible banner. (With a 50% off sale, this would
only add $7.50 to the total estimated cost, so still a bargain.)
The sewing and finishing process for two panels is not much different from
the process for a single panel. The major difference is to sew them together
first, so that it can be handled as one piece.
Do this by placing the panels right sides together and pinning them
so that their printed edges are all aligned. Once you've done this, sew
seams along the two side edges, from top to bottom. Trim away any excess
fabric.

|
| Step 1: Sew both panels together and turn right side out... |
Turn right side out and press well.
Next, trim up the fabric along the top and bottom to get a straight edge.
Then follow steps 3, 4 & 5 from the previous instructions to create
channels for the dowels. Since the fabric is now two layers thick, press
well at each juncture, pin carefully, and ensure your sewing machine needle
is sharp.

|
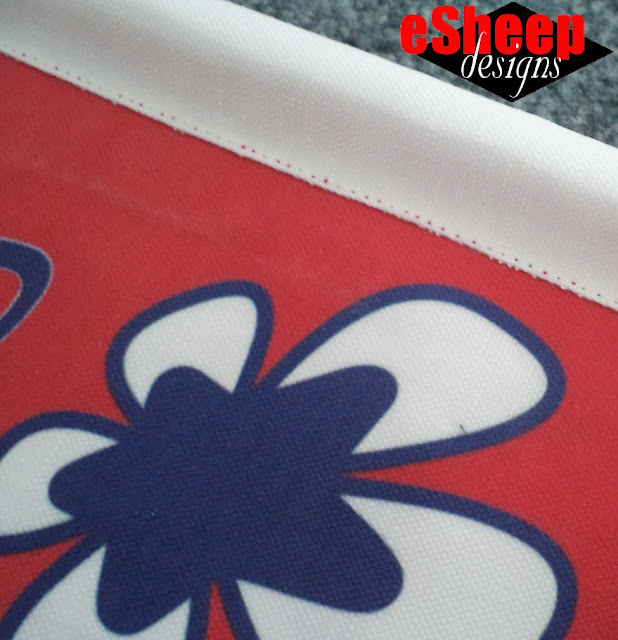
| View of the channel from the seamed side... |
Since the banner is meant to be displayed on either side, pick your top and
bobbin threads appropriately when you sew the channel seam. In my case, the
channel across the top had to extend into the printed area of the fabric on
one side, which was red. The side I sewed on was white.

|
| Bobbin thread was red in this case... |
Therefore I used a white top thread and a red bobbin thread.

|
| Top thread is white... |
This fabric (linen cotton canvas) is a home decor weight material, so I do
recommend that you use a new needle if possible, to ensure smooth sewing.

|
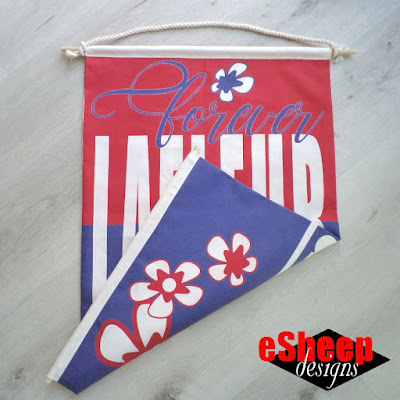
| Reversible Guy Lafleur banner... |
If you would like to get a jump on making a custom banner for the sports fan in your life for the upcoming holiday season, check out my original post here. You can download your choice of a couple of Photoshop or Paint Shop Pro files to create an image that can be printed via Spoonflower.


No comments:
Post a Comment
You have the power to brighten my day. Leave me a comment; I'd love to hear your thoughts... you can even remain ANONYMOUS! And rest assured that I acknowledge all comments, either here or via email. (That is, if you don't see a response from me here, I would have responded privately to the person.) Spam or generic comments with unrelated links, however, are promptly removed... and I may take appropriate action or report you to Google. Thanks for reading! (✿◠‿◠)