|
|
Project JJJ... |
I'm disappointed with our weather
thus far, but with the near constant threat of wildfires, the return of cool and wet this past week – we actually had snow a few days ago – has its
advantages, I suppose. (Hard to believe the halfway point of 2024 is fast approaching and
I'm only on my fourth post of the year — ha, ha!)
Today's entry covers two related but slightly different aspects of junk
journaling. The first has to do with the physical creation of signatures
and the second has to do with the embellishment of the resulting pages.

You may recall that since I had already purchased a notebook of a certain size, the dimensions of the junk journal pages were already predetermined. I needed them to be 9" high and no more than 6" wide.
Celebrate Creativebug's 10th Birthday with $10 offer valid May 11th to 19th!

[affiliate link]
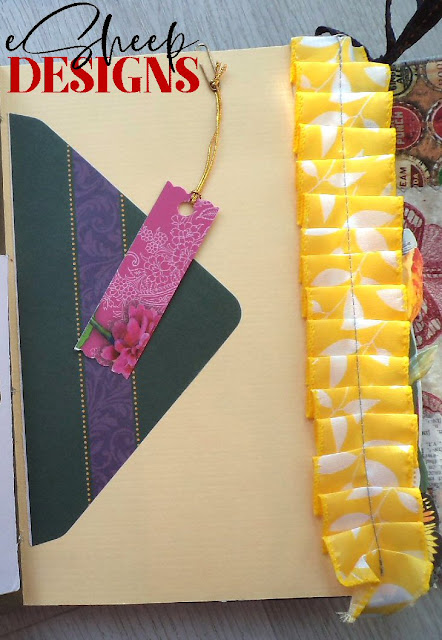
I had just enough ribbon to make three ruffles, one for each of my large signatures. (The ribbon was sewn onto a piece of cardboard, which is then glued onto the edge of the page.)
At the end of my first post in this series, I explained that the term
signature is used to describe a set of papers that when
folded and bound together, create the pages of a book.
When making a junk journal, one has the freedom to include as many
signatures as desired. A small journal might have just one; my jumbo
journal ended up with six. I would suppose – and I'm guessing here
since I have limited experience with making junk journals – that the
decision to have one, two, three or more signatures might have
something to do with how much paper one has to fit the theme (if there
is one).
In any case, amount of paper was certainly the decision maker for me,
as I had twenty-four scrapbooking sheets and I wanted to use all of
it.

You may recall that since I had already purchased a notebook of a certain size, the dimensions of the junk journal pages were already predetermined. I needed them to be 9" high and no more than 6" wide.
A pad of 12" x 12" scrapbooking paper worked out perfectly in terms
of me being able to use all of it with no waste. Here's how that
happened.
|
| Slicing up some 12" x 12" sheets of paper... |
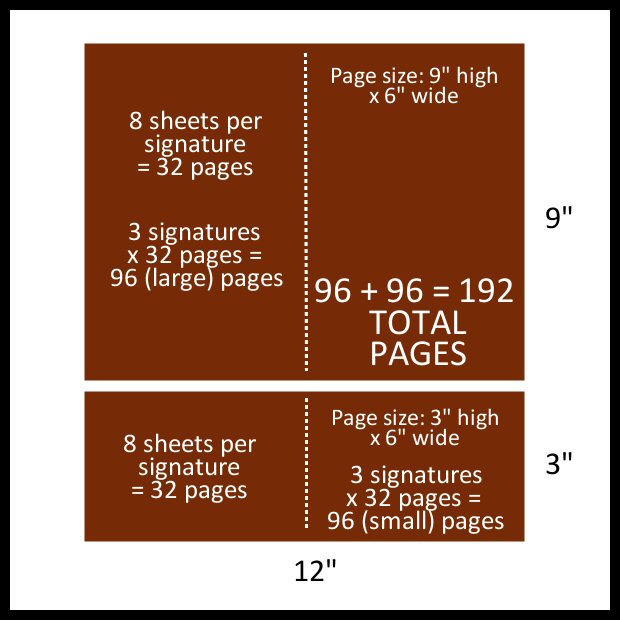
The pad consisted of twenty-four sheets featuring eight different
colours; therefore it was an easy decision to turn them into three
signatures of eight sheets each (3 x 8 = 24). By cutting off a 3"
strip from the bottom, I was left with 9" high x 12" wide sheets.
Folding this down the middle results in 9" high x 6" wide individual
pages, exactly what I needed.
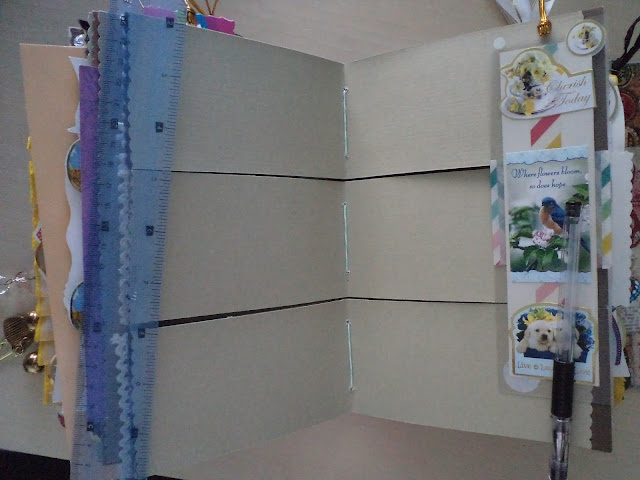
When I realized that the 3" high remnants could also be arranged to
fit into a 9" high x 6" wide space (3 x 3" x 6"), I made the
decision to make and "stack" three smaller signatures in between a
couple of the large signatures. They would need to be bound
differently, but that wouldn't be a big deal.
The previous graphic provides all of the data regarding the size
of my jumbo junk journal. With every sheet of 12" x 12" paper
accounted for, I ended up with a 192 page journal. (The final
number is actually greater – by 28, if I counted correctly – since
I ended up adding some greeting cards and envelopes into the mix
when I bound the signatures.)
|
| Fitting in three smaller signatures into my junk journal... |
Oddly enough, the thought of
how am I ever going to fill this up never once occurred to
me. ᕙ(`▿´)ᕗ
With the signature creation part over for me – and to clarify,
this would be more of a creative process for junk journal makers
who use non-traditional types of paper – my attention then turned
to cutting up stuff and decorating. (By the way, I used rubber
bands to hold the signatures together at this point, since the
objective was still to decorate the majority of the pages first
before binding everything together.)
|
| Concave and convex page edges... |
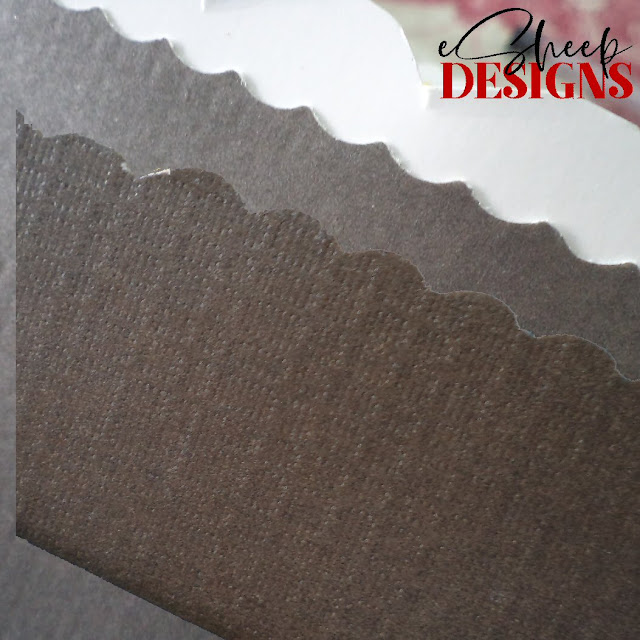
My first thought was to take the edging scissors and cut along
every page edge. (The only ones that I left "as is" were the
second half of the smaller signatures.) Depending on how the
scissors are oriented, the cut edge is either concave or convex. I
took off more or less the same amount from every page, but the
beauty of a junk journal – again – is that perfection and symmetry
are not required.
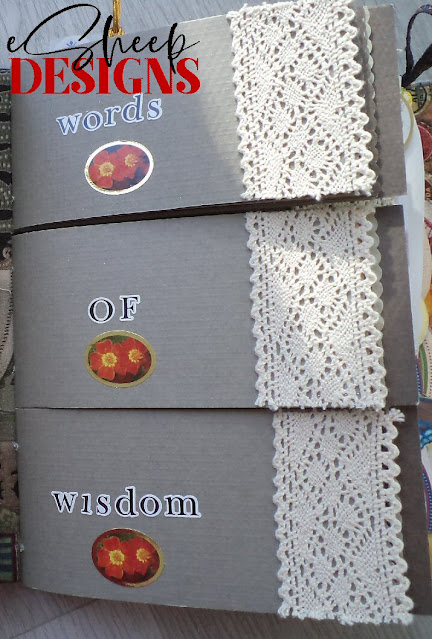
The front page of every signature got the crochet ribbon treatment
down the right edge.
|
| Crochet ribbon trimmed front pages... |
For the three smaller signatures, what you see above was the extent
of my decorating. (The backs also have stickers on them.) I use
these pages strictly for writing down quotes.
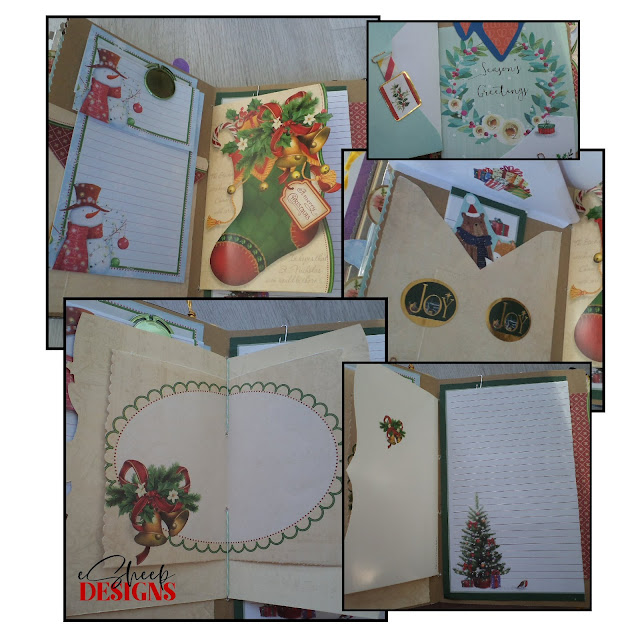
Since it was that time of year when I was doing this, several pages
ended up with a Christmas theme. (In this particular instance,
binding the card and the front of its envelope to the signature
added eight pages to the journal.)
|
| These are the center pages of the last signature of my jumbo junk journal... |
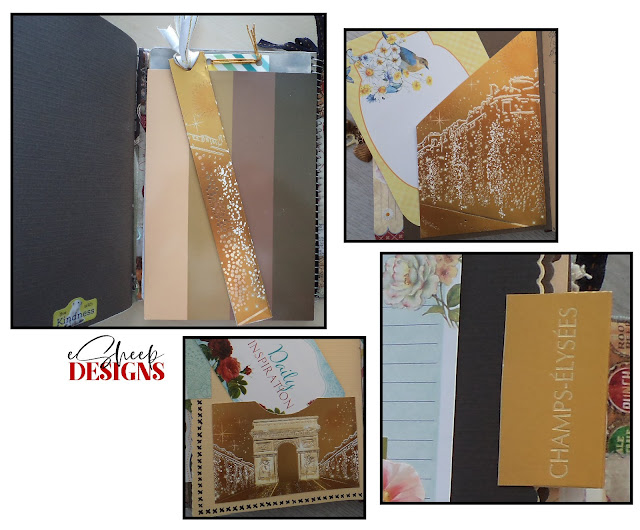
In my
first post of this series, I mentioned having recycled the lid from a box of
Lindt chocolates. Here are the four different things that it
became. (There's actually a fifth item, but it's just a rectangular
piece acting as an anchor under a paperclip.)
|
| Junk journaling opportunities with a Lindt chocolate box... |
Clockwise from top left, the box was transformed into a book mark, a
tuck spot (open sided pocket), an altered paper clip, and another
pocket.
|
| Other side of the writing board decorated with washi tape and stickers... |
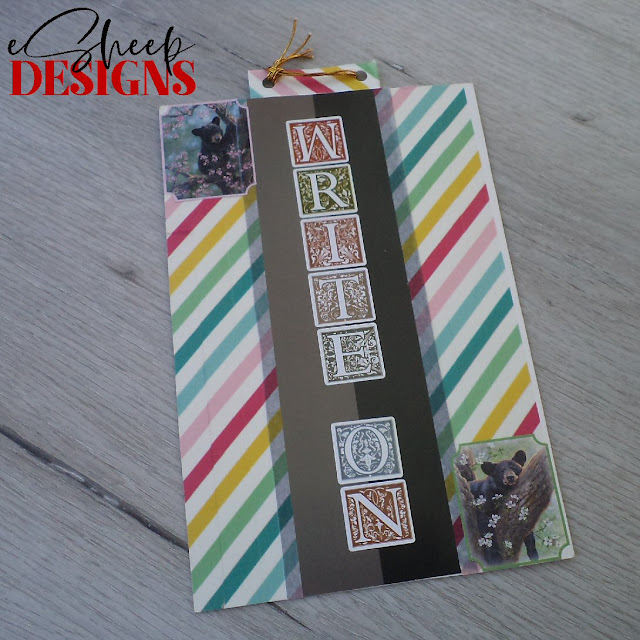
Underneath the book mark in the first image is a "writing board"
made out of a couple of pieces of the scrapbook pad cover; the other
side of it is shown above. The term applies to something flat and
even to place under a bound journal page to facilitate easier
writing.

I had just enough ribbon to make three ruffles, one for each of my large signatures. (The ribbon was sewn onto a piece of cardboard, which is then glued onto the edge of the page.)
|
| The one thing that's sewn for today! |
This post – and the ones to follow – was/are by no means an attempt
to teach you how to "junk journal." There are amazing
creators out there vying for your attention all over the internet
who can do a much better job than me on that front. (I've stated
that YouTuber Natasa at Treasure Books is my
main source of inspiration.)
My objective is solely to demonstrate what an absolute beginner can
do without needing too much or buying too much. But if I hadn't
found the whole project and process to be enormously satisfying on
many levels, I wouldn't have bothered sharing it at all. (And if
you're really curious to see my efforts, a flip-through of the first
two signatures are available in PDF format here and here.)
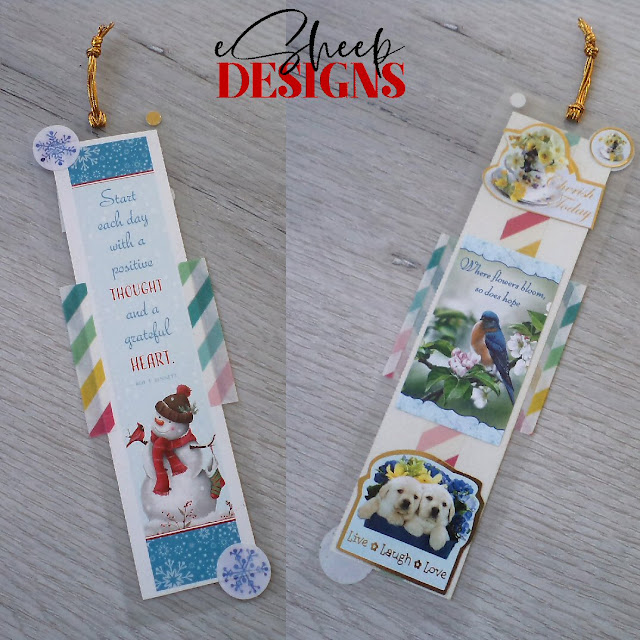
|
| What's a journal without a bookmark? |
Part three of this series will be about sewing the cover for this
junk journal, the size of which can only be assessed after
embellishing the majority of the pages. Yay, finally something about
sewing!
And as the remainder of these junk journaling posts are already
written up and ready to go, I'm going to release them at a quicker
pace; those of you who are following along won't have to wait
three weeks for each part. After this series wraps, I'll slowly refocus on sewing... but with no promises of anything on a
regular basis, of course. 😉


I'm still seriously thinking of doing this. Not inspired or motivated but my hope is that if I start I will get excited!?!? Should be a way to be more spontaneous and less demanding of perfection!!
ReplyDeleteNot knowing how you normally approach crafting, I can't offer any real advice. Some people can start something that they have a mild interest in and develop passion for it along the way. Others need to be soaked in inspiration before beginning. But I will say that if a first time junk journal is anything, it's spontaneous and imperfect by default... so there you go!
Delete