|
|
Deciding on a snowflake pattern... |
On November 1, however, the weather pretty much turned upside down as
winter blew in and took over where autumn had failed to grab hold. A day
later, everything was covered in about eight inches of "white stuff",
necessitating shoveling two to three times a day for several days in a row.
And yet, despite mostly disliking snow, I realized it was
time to tackle a project that had been on my back burner for the last
couple of months: a big snowflake for the front window. It would be yet
another variation of an original paper based craft translated into
fabric.

Whether or not you've ever cut snowflakes out of folded paper or simply drawn them, you might imagine that some designs are more suited to fabric than others. That is, those that feature skinny "sticks" would be too flimsy to replicate with fabric. Something "fluffy" but not overly ornate is what's appropriate for this project.
The pattern or design of the snowflake can then be drawn as desired and cut out.
Watch live classes for FREE at CreativeLive!

[affiliate link]
It might be a good time to describe what my snowflake project actually is. I wanted to come up with some way of replicating a snowflake pattern on a quilted hexagonal fabric background that can be hung up against a window. (Or on a wall; it can also be a table topper.)
Check out crafty classes at Creativebug!

[affiliate link]
The little bits of interfacing that had been cut out are going to be put to use on the remainder of this project. Here you can see that six petal shaped pieces have been added to the mix.

Whether or not you've ever cut snowflakes out of folded paper or simply drawn them, you might imagine that some designs are more suited to fabric than others. That is, those that feature skinny "sticks" would be too flimsy to replicate with fabric. Something "fluffy" but not overly ornate is what's appropriate for this project.
I had done some prior "research" into possible patterns and finally
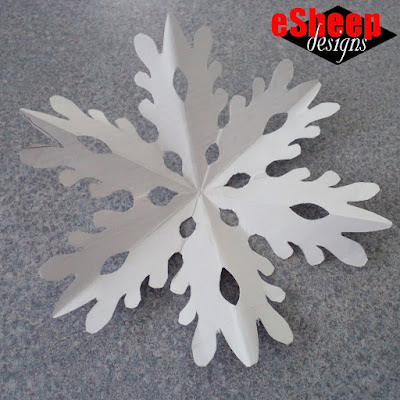
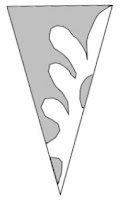
found one on YouTube (courtesy of Crafty Daily) that appealed to me. It's shown cut in paper format at the top of this post. If you want to make one, the template is at left;
after folding, draw the design as shown and then cut out the sections in
gray.
Speaking of cutting, a six-pointed snowflake pattern requires a specific
folding technique, lest you wind up with an eight-pointed snowflake.
Start with a square and fold in half diagonally. Then fold in half
again, as you would expect.

|
| After the second fold, fold one edge one third of the way in; flip over and repeat... |
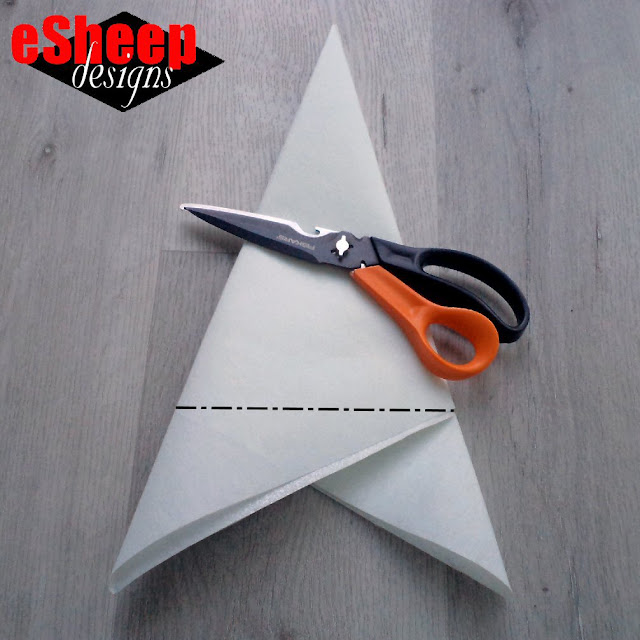
The final two folds require you to divide the triangle into
thirds — making one such fold on each side — so that the result
forms a "Z". (Check out the YouTube video for further clarity if
you need.)
|
| Third and fourth folds completed; pointy ends ready to be trimmed away... |
Once folded, the ends are trimmed away so that the triangle has an even
edge at the top.

|
| This was my test cut of a paper snowflake... |
The pattern or design of the snowflake can then be drawn as desired and cut out.

It might be a good time to describe what my snowflake project actually is. I wanted to come up with some way of replicating a snowflake pattern on a quilted hexagonal fabric background that can be hung up against a window. (Or on a wall; it can also be a table topper.)
My first inclination had been to reproduce a snowflake using ribbon or
selvages; in that case I would have gone with one of those "stick like"
patterns. But as I dug deeper for ideas, I came across a project by
Leila Gardunia using
Heat 'n' Bond Lite interfacing. How nifty, I thought: use
interfacing to get an actual white snowflake that's also easy to
apply to fabric!
|
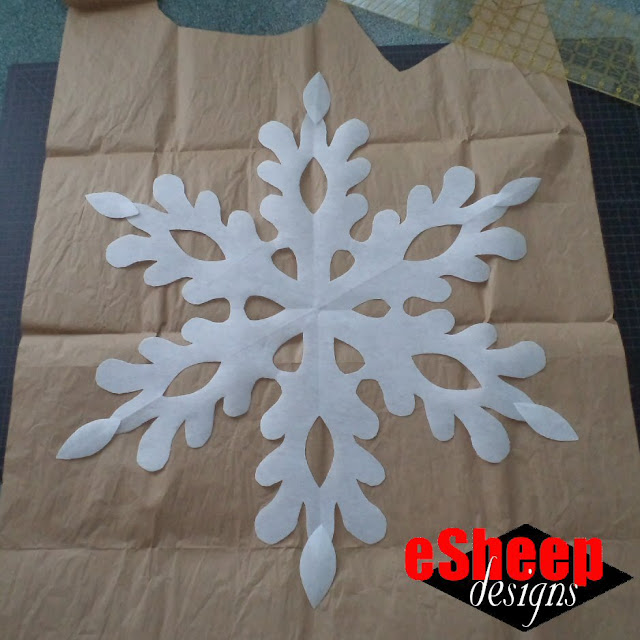
| My Decor Bond snowflake... |
In the spirit of "making do", I turned to my supply of
Decor Bond fusible. It's thicker than Heat 'n' Bond would
be, so the cutting part is a bit more challenging. But even in nature,
snowflakes aren't perfect, so if everything isn't symmetrical, no
biggie.
|
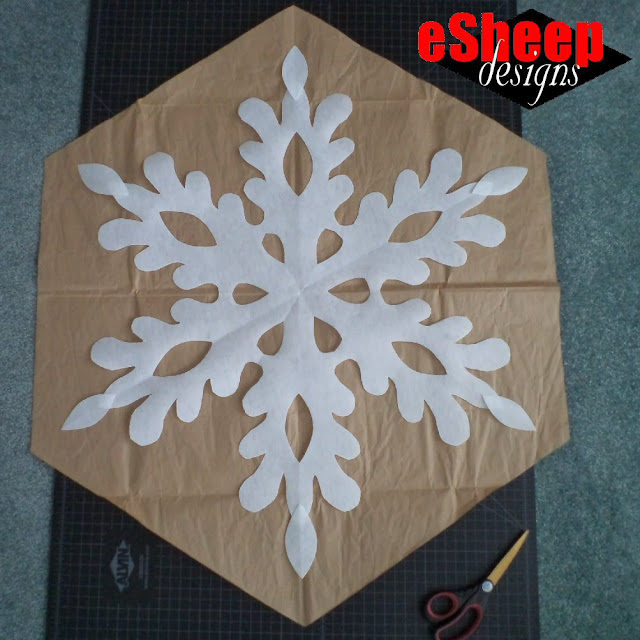
| Packing paper helps to make a template... |
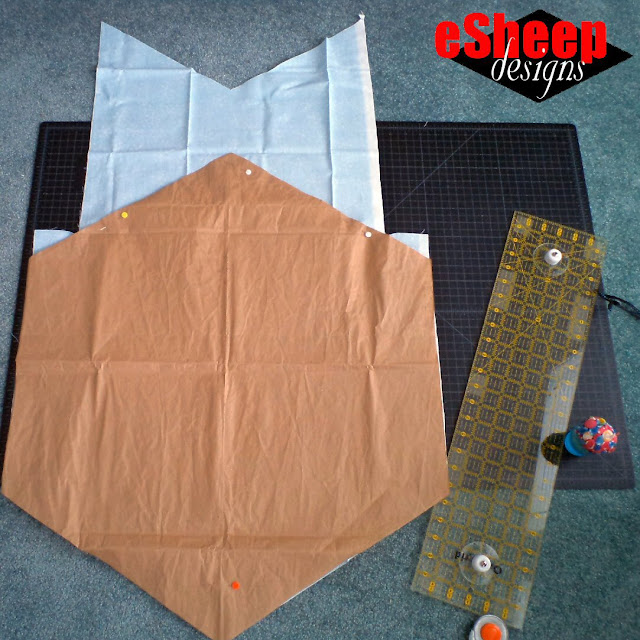
The next step is to make a template for the backing. That's where the
packing paper that you see comes in handy. (I honestly think many things
that we buy online are overprotected during shipping, but at least when
it's this type of paper, it has other uses.)
|
| Piecing together what I needed out of a half yard cut... |
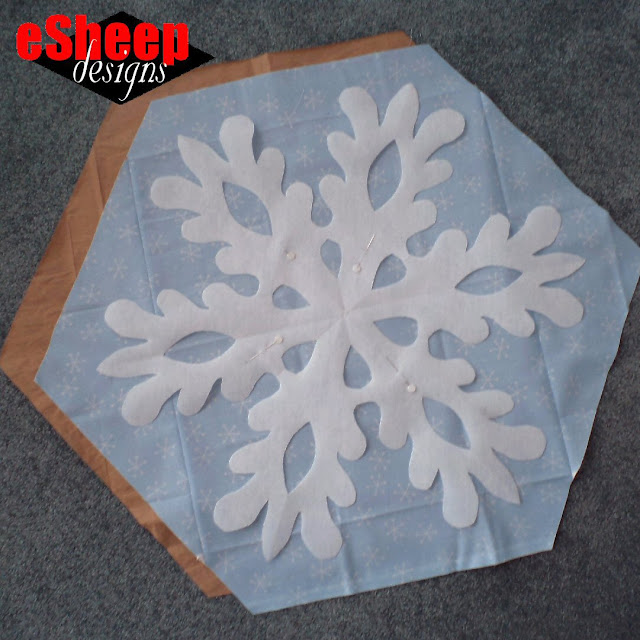
Once I had a template, the next step was to see if I had enough
fabric. As it turned out, I had to downsize the template by roughly 2" all the way around in order to make it work with a half yard cut and a couple of
slightly more than half yard cuts.
[Of course, I ended up with a fabric dilemma because I chose to make such a huge snowflake. Go with something a little less grand and there should be no issues.]
|
| Fabric pieced and ready for the next step... |
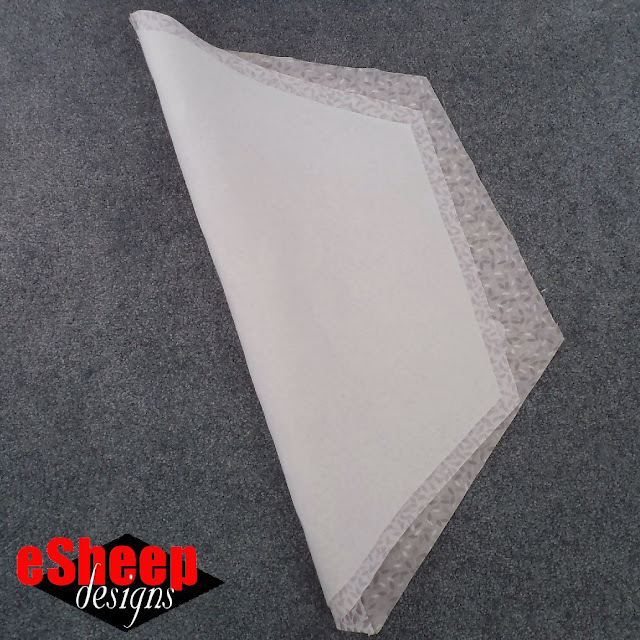
I wanted this be a double-sided hanging, so I used the template to cut
another hexagon out of two other pieced selections of fabric. (All are
from the
Lily and Loom Red Sky bundle
that I purchased from Bluprint.)
|
| Both hexagons are interfaced with fusible fleece... |
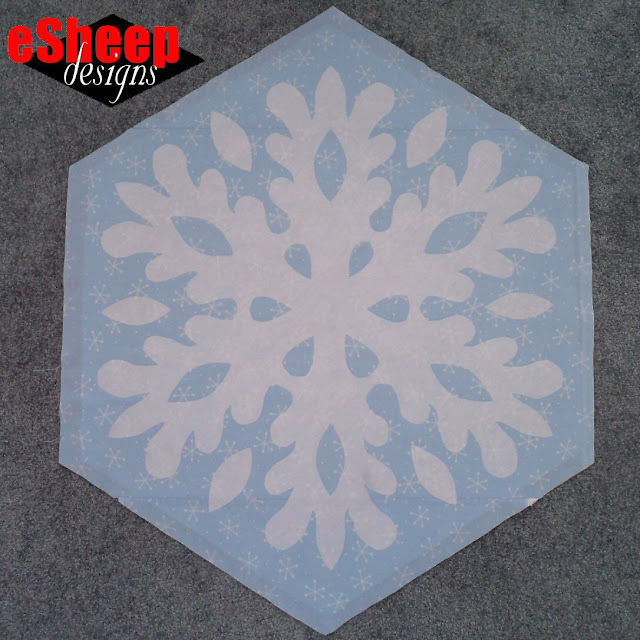
Since I will be quilting these, the next step was to apply some fusible
fleece to both pieces of fabric. By the way, the process of fusing all
of this interfacing was very much easier to do than usual because I had
the assistance of my (relatively) new pressing cloth.

The little bits of interfacing that had been cut out are going to be put to use on the remainder of this project. Here you can see that six petal shaped pieces have been added to the mix.
|
| Snowflake fused on and it's ready to be quilted... |
In fact, the whole idea is to reduce as much "waste" as possible. The
reverse side of this project is going to feature a hexagonal pattern
created out of the other cut remnants of Decor Bond.
In the meantime, I'll also need to decide how I want to quilt it (by both machine and hand). That's why there's a
part two to this project. (ಠ‿ಠ)
[In what may have been a meeting of minds in a creative nexus, the day after I finished this project, Sew4Home — courtesy of the uber-talented Michele Mishler — offered up a snowflake embroidery pattern as part of their newest project. If you're fortunate enough to have the means to do machine embroidery, take the opportunity to download the freebie.]
'Til next...
'Til next...


What a neat project! I can't wait to see the finished piece. ~ Carla🌹
ReplyDeleteGreetings, Carla — happy to hear that. (The finished piece is pretty neat too, if I do say so myself!)
DeleteLove paper cuttings for discharge dye fibre artwork, so this will be fun with snowflakes.
ReplyDeleteYou have me at a disadvantage — had to look up what discharge dyeing is. Thanks for the comment and for the "learning something new" moment for the day.
Delete