|
|
Magnetic needle tracker... |
I used one of my favourite materials to facilitate the project: silicone. A piece cut into a hexagon shape allowed me to press fabric directly around the template.
I also cut a pentagon shaped template, to make several "penties" as well...
although they don't seem to be commonly known by that logical nickname.

|
| A way to keep track of your needle when hand sewing... |
A few months ago, I grabbed a couple of the hexies to make a keychain, but I've yet to use any of their five-sided cousins.

|
| My collection of "penties"... |
All this is, is a couple of button magnets encased in some fabric. The magnets
enable the pieces to be "attached" to both sides of a (hand) sewing project,
allowing you to keep track of your needle by placing it on top of the
magnetized surface.
Certainly not a life-changing item, but perhaps a fun way to use up scraps of
fabric and interfacing. It might also make a nifty stocking stuffer item for
your sewing buddies at Christmas.

To make this needle tracker, you'll need to round up four scraps of fabric, similar scraps of fusible fleece, and two button magnets (at least 1/2" or 12mm in size).
Depending on how large your shapes are, you may also need a couple of scraps
of SF101 or similar lightweight interfacing to hold the magnets in place. Optionally,
about 10" or 25cm of narrow ribbon is used to connect the two pieces.

|
| Gathering materials... |
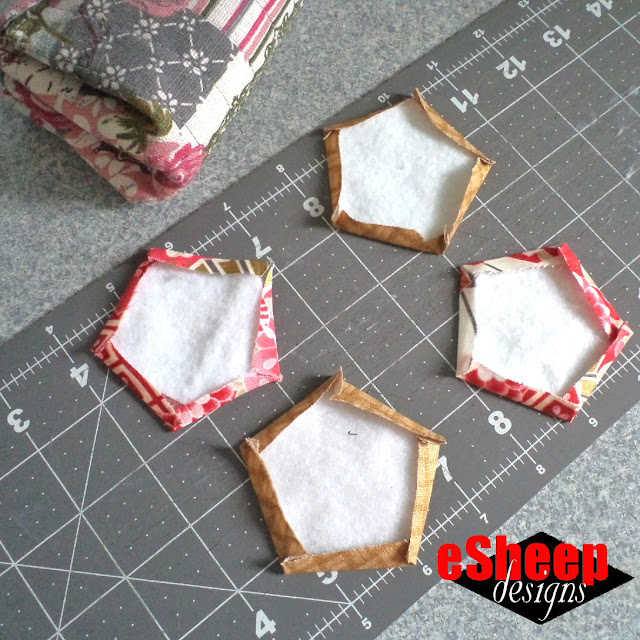
First, make your hexies or penties (or whatever shape) with the fabric scraps. Then fuse the fleece onto the fabric.

|
| Fusible fleece added... |
Next, if your fabric pieces are all different, decide how you want them to
be oriented when they're "joined" (understanding that magnets attract on one
side and repel on the other).
In my case, I just wanted to make sure that the matching fabrics would always be
kept together.
Once you make your decision, ensure that the magnets are positioned
correctly against the fabrics.

|
| Cut some SF101 interfacing to secure the magnet in position... |
Since I didn't want them to slide around inside, I fused a small piece of
SF101 on top of each in the center of my "pentie" to hold it in place. If
the shapes and magnets that you use have a similar size difference, you may
want to do that also.

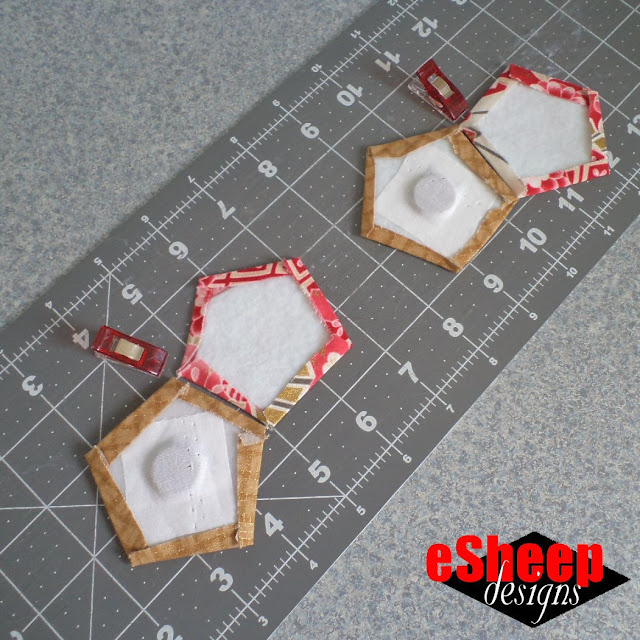
The next step is to determine the optimal way to put the two halves together. Even when pieces should be more or less identical, there is usually a best way to align the edges so that they're even.

|
| What is the best way to match up both halves? |
Once you've determined what that should be, clip them together in
preparation for sewing.

|
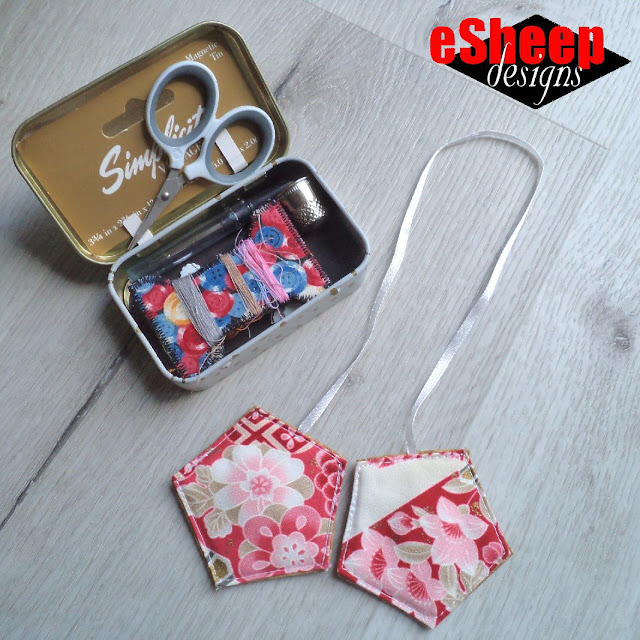
| Use a ribbon to connect the two pieces if desired... |
If you want to tie the set together, take a section of thin
ribbon and sandwich one end between each of the two halves. (Note that if you choose to do this, it will limit where you can place the needle tracker on larger projects.)
Sew around the perimeter with as small a seam allowance as you can manage.

|
| Done! |
That's all there is to this quick, scrappy project. Your magnetic needle
tracker is done!

I don't do a lot of "unnecessary" hand sewing, so it's debatable how often I might use this. In the past, I generally just stab my needle into whatever it is that I'm sewing if I need to put it down or walk away for a bit. With this, I'll at least easily see where the needle is on whatever it is I'm sewing.
For those who do intensive needle work like embroidery, cross
stitching, etc., it might be a welcome addition to the tool box. In those
circumstances, simply punching the needle into the fabric may not work as well (it could fall right through). With the potential requirement to change thread/floss regularly, having some place to keep a bare needle safe is a good thing.

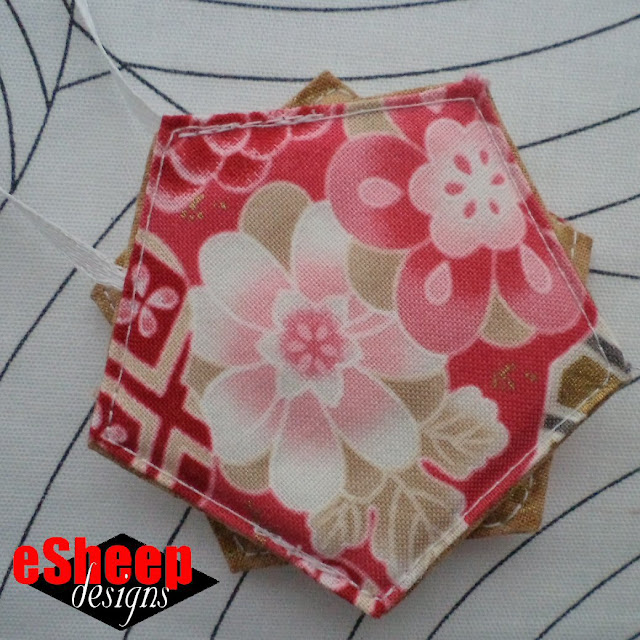
|
| The other side... |
I envision my version here being useful for occasional hand quilting. By attaching a cord to the two halves, I know that it can't be used just anywhere — like in the middle of a large quilt — but that's not going to be a problem for me as I don't foresee any large quilts in my future.


No comments:
Post a Comment
You have the power to brighten my day. Leave me a comment; I'd love to hear your thoughts... you can even remain ANONYMOUS! And rest assured that I acknowledge all comments, either here or via email. (That is, if you don't see a response from me here, I would have responded privately to the person.) Spam or generic comments with unrelated links, however, are promptly removed... and I may take appropriate action or report you to Google. Thanks for reading! (✿◠‿◠)