|
|
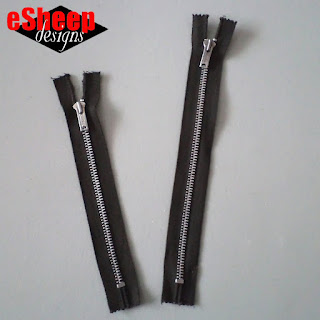
Doable but not fun... |
What brought this about?
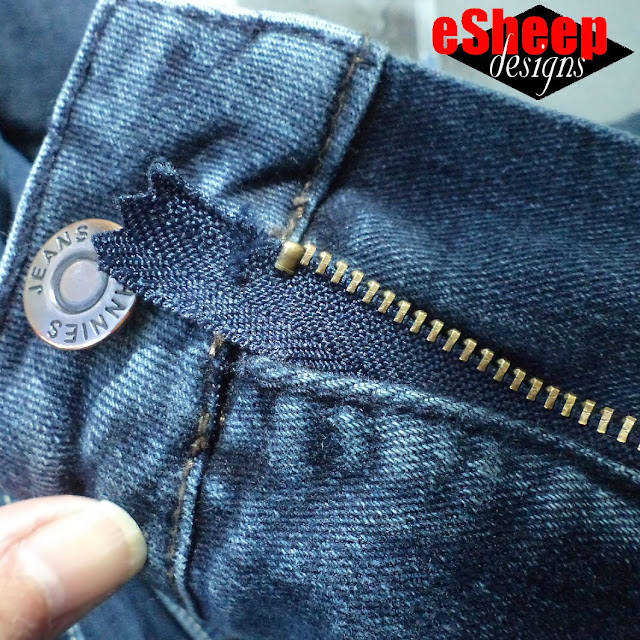
The zipper on a pair of hubby's jeans lost a tooth, with the result that
the zipper pull came off one side.

|
| A zipper that's lost one of its teeth... |
I managed to put it back on, but the reality of this kind of problem is that
it will keep happening. Because I look for different things to amuse (and
abuse?) myself with on the sewing front these days, I said I'd try removing
and replacing the zipper.

I have a few metal zippers in my possession, but they were all longer than the one that was attached to this pair of jeans.
Shortening a zipper involves two main tasks: removal of the metal stopper and
as many teeth as required, and then cutting off excess tape and reinstalling
the stopper. The most difficult part in all of this is removing the stopper.
(By the way, you can shorten a zipper from the top or the bottom; I chose to
go with the top method after seeking some online help.)
|
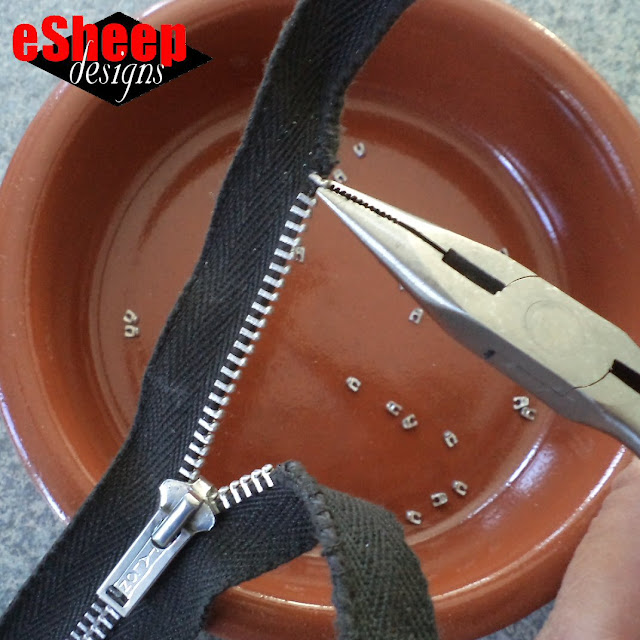
| Just like pulling teeth! |
One would suppose that metal zippers on jeans are typically meant to last, so
I don't know exactly what happened here with hubby's pair. In fact, if you
think of metal zippers in general, you'd likely conclude that the zipper teeth
are held in place very tightly... which they are. So your next assumption
might be that the removal of these things is not accomplished easily.
My pair of pliers managed to pull the zipper teeth fairly well — at least for
this zipper; see bottom of post for more on this story — but it wasn't
the right tool to remove the stopper.
|
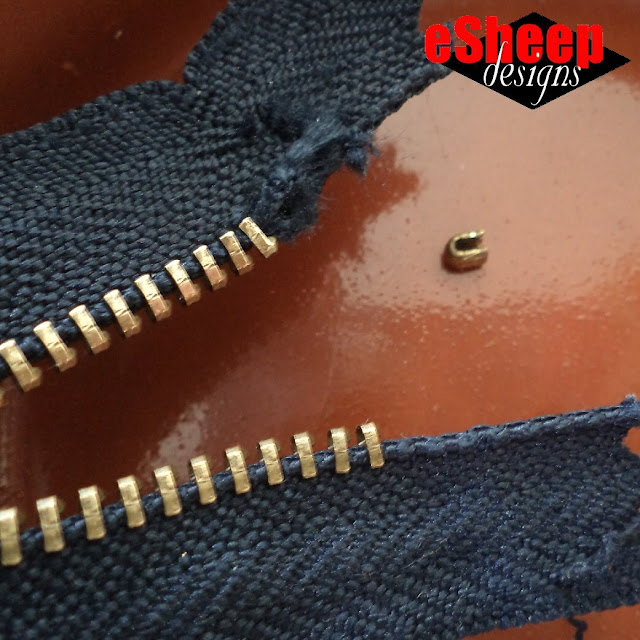
| Removing the stopper is going to be the hardest part... |
Whatever tool you end up using, what's likely to happen is that the zipper
tape around the stopper will be damaged in the process. (This, however, is not
an issue because the excess tape will be cut off anyway.) This little piece of
metal — which is just a miniature clamp — needs to be pried apart with
tweezers or small flat head screwdrivers.

|
| Using one (of three) small flat head screwdrivers to spread open the stopper... |
It's essential to be careful during this whole process because the last thing
you want to have happen is for the little stopper to go flying off into the
air to who knows where.
|
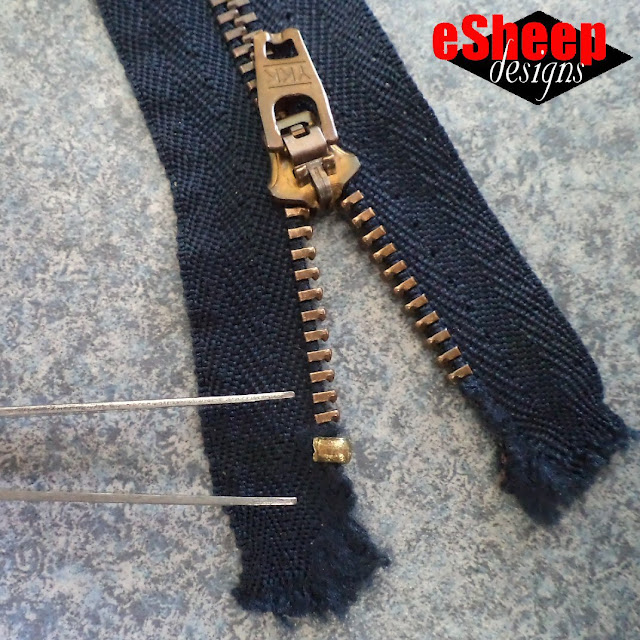
| Replacing the stopper... |
After shortening the zipper, you can put the little stopper clamp back onto
the zipper tape.

Before doing anything with a new zipper, my first step was to remove the damaged zipper, in order to ascertain how long the replacement needed to be.
|
| Starting the process of zipper removal... |
What surprised me is that different jeans manufacturers sew in the zipper fly
differently. This pair seemed quite a lot less complicated than a pair of
Levis which I dismantled a few days later.

|
| One side done... |
For that reason, I would suggest that if you want to do this that you take
photos as you go, and also that you leave the last few stitches in place so
that the old zipper is not totally removed until you're ready.

|
| Hanging on by just a few stitches! |
Once you have the new zipper prepped to your specs, you can fully remove the
old one while pinning the new one in place.

|
| Basting is a good plan... |
In the end, I was surprised by how relatively easy it was to sew the zipper
back in using a sewing machine. (Again, it was for this particular pair of
jeans... YMMV.) It was only at the very bottom along one side where I couldn't
quite manoeuvre close enough to tack the zipper tape in place. After trying
the jeans on, the other half stated that it didn't matter; the zipper was
otherwise firmly attached.

By the way, I could not easily find any short metal zippers to buy. But the both of us had a face palm moment when we noticed the bag of old jeans that we had brought back from our vacation home and thought, why the heck didn't we think to remove one of those zippers??

|
| Had to switch tools and use a cutter to remove the teeth from this zipper... |
For those eagle eyed observers among you, here is the post script explanation
for why there are clearly two different (replacement) zippers featured in my
photos. Shortly after switching out the zipper, the new one began to have
issues: it kept snagging at one particular spot. Deciding that my metal
zippers weren't quite heavy duty enough for this application, I harvested a
zipper from an old pair of jeans and repeated the whole process.
Yep. Lotsa fun.

|
I don't often get the opportunity to share Spoonflower sales announcements on the day that I post since new sales usually start on Monday, but there is a sale going on now through the end of the month on all fat quarters, tea towels and wall hangings. Plus free shipping! Believe me, that's a big deal, so if you've been intrigued by Spoonflower's fabrics (mine or otherwise), here is your chance to get a huge bargain.


I have a pair of 1980's Calvin Kleins sitting on my sewing table as we "speak"... waiting for a bit of love... (They've been there a while, but they are on the top ;) )
ReplyDeleteWrestling metal zippers looks like work, so I have to ask: What is the reason for not just cutting off the bottom of the zipper instead? You do your research, so I'm thinking that there is a reason.
We've all been told that we cannot simply sew over a metal zipper like we do a nylon or plastic one. In some circumstances, if you have free and clear access to the area being sewn, it's possible to hand crank your way over metal zipper teeth, but that's not the case here. My thought was that while I could cut off some of the length, I'd still need some bare zipper tape to sew across, so pulling some teeth was unavoidable.
DeleteGood luck with your jeans no matter what method you end up trying!