|
|
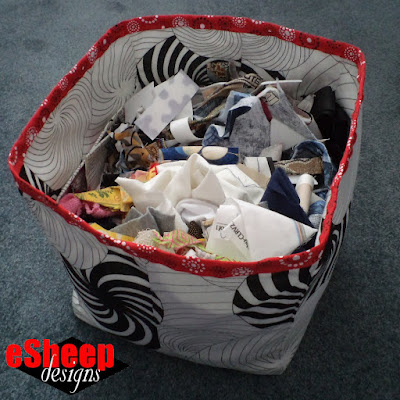
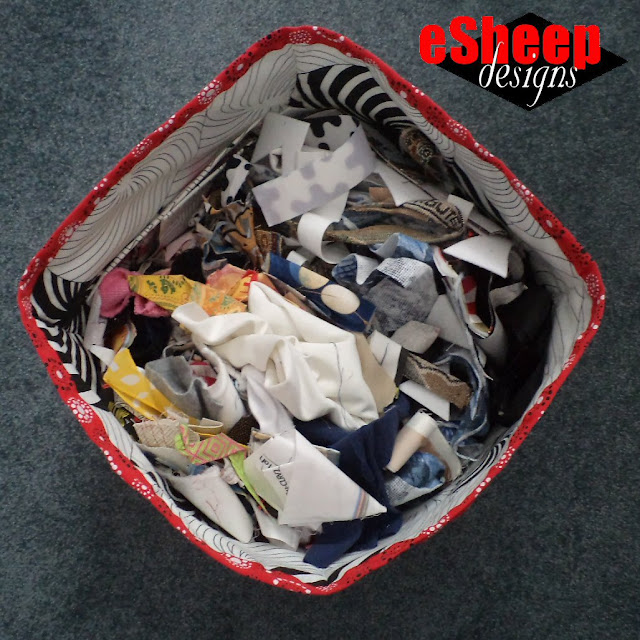
My new scraps container... |
Despite scrunching everything down, it's overflowing. Several months ago, I
saw one of Don Kim's (YouTube) videos for making a simple box — there are at least two —
and knew that it was going to be the basis of my solution.
If you want to join me in today's simple project, I recommend using reclaimed
material. I've typically avoided making "big things" like this because of the
fabric requirements. However, if sacrificing an old bed sheet or some other
item of used clothing, it becomes less of an issue.
In my case, the duvet cover set that I've previously used for
one of my first purse designs, my
ironing mat and my
sewing machine cover
is still able to yield material for me to complete more than one of these, so
yay for recycling!
I used ribbon to bind the top raw edge, but straight cut binding out of the
same fabric will also work.
The type (and amount) of interfacing chosen will affect how well the box is
able to stand up upon completion. I used only fusible fleece and the result is
somewhat floppy, particularly because of the large size. A combination of
Decor Bond and fusible fleece would definitely provide more body;
adding interfacing to the lining would also improve stiffness. Keep in mind
also that if your intention is to have this box filled, that alone will
add structure.

Don Kim's versions of this project result in a 24cm square box, which is just under 9.5". I wanted my box to be closer to 12" so I used metric measurements for the first time — primarily because I had to adjust his original dimensions and didn't want to add another level of complexity to the process — and decided on a 30cm box.
Then I came up with this graphic to help you "design" your own size box,
regardless of what scale you use.

|
| This math should be simple to understand... |
What follows here is a tutorial where you can make a box whatever size you
want. Or make several in different sizes and have them be stackable.
To show you how the formula works, I wanted 30cm — which is pretty darn close
to 12" — as my desired size. So my value for A was 15cm (or 6");
i.e., desired size divided by two. Value for B was 30cm x 2 =
60cm, plus 1cm seam allowance x 2 = 62cm total. (Or, in Imperial, it would be
12" x 2 = 24", plus 1/2" seam allowance x 2 = 25" total.)
Value for C was simply 30cm + seam allowance of 1cm = 31cm
total. (Or, in Imperial, 12" + seam allowance of 1/2" = 12.5" total.) Value
for D was 30cm plus seam allowance of 1cm x 2 = 32cm total.
(Imperial would be 12" plus seam allowance of 1/2" x 2 = 13" total.)

|
| Four pieces of fabric, two backed by fusible fleece or your choice of interfacing... |
Using your measurements, cut four pieces of fabric (two for the exterior and
two for the lining), along with however many pieces of interfacing you want.
Again, I only interfaced two (would have been the exterior) pieces of fabric
with fusible fleece, but you can interface them all for a stiffer structure.
|
| Create seams along the three short edges... |
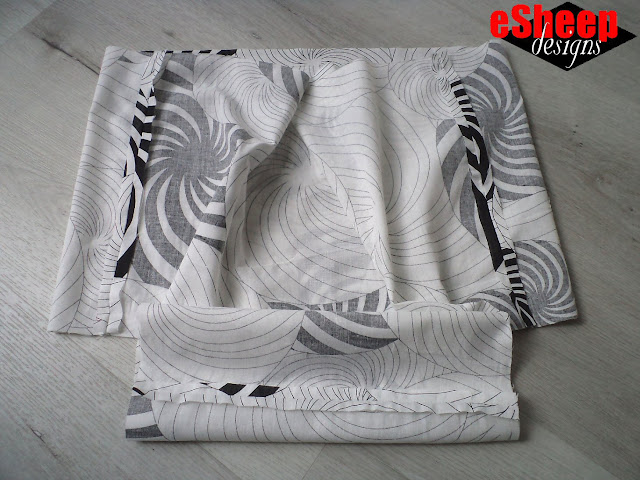
The sewing part is extremely simple. Stack each pair of pieces right sides together and sew along the three short sides (the two Cs and the D from my original diagram above). Press open the seams if you can.
|
| Box the exposed sides and sew two more seams... |
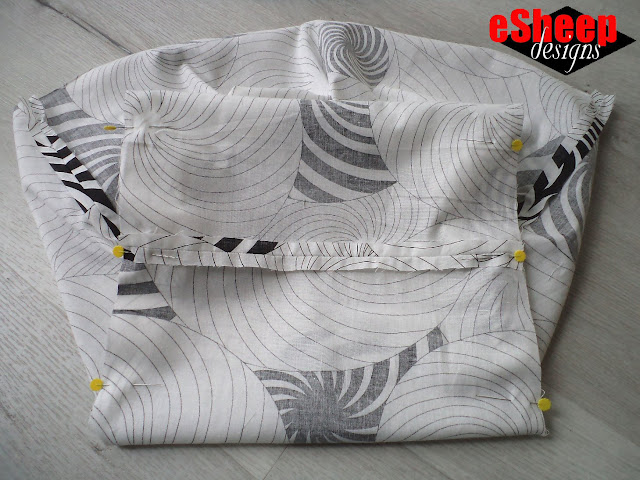
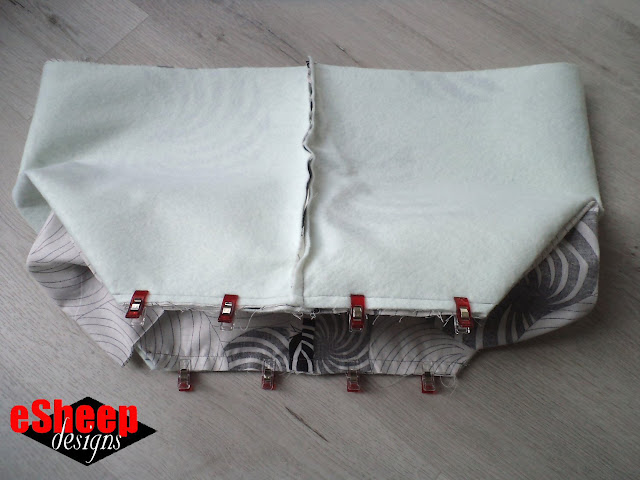
Box the bottom seams by bringing together the raw edges of the cut out corners, i.e., matching one end of the D seam with one of the C seams and the other end of the D seam with the other C seam.
|
| Do the same with the interfaced pieces... |
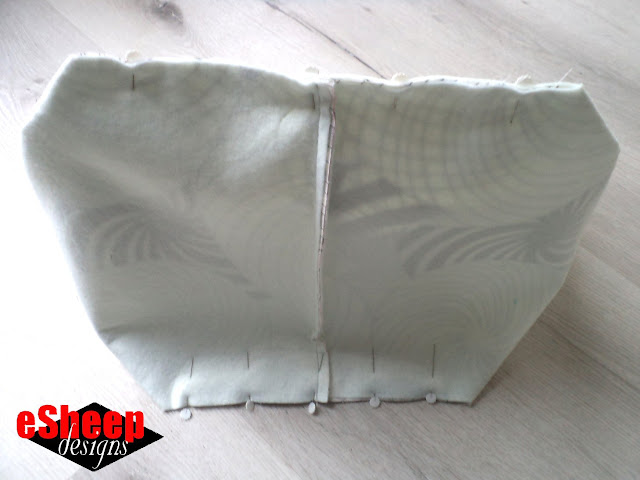
What you want to end up with is the D seam across the
middle of the bottom of the box.
|
| Sew together the boxed edge seams of the lining and exterior... |
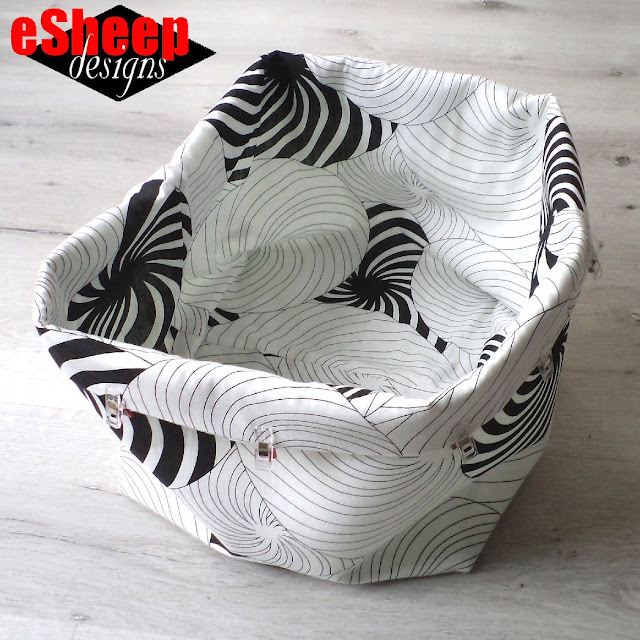
Finally — and I consider this one of the best tricks that I've learned
over the past year — secure the lining to the exterior by sewing them
together along the two boxed seams. (Both should be wrong side out,
bottom against bottom, when you do this. I should have taken a photo
showing both pieces extended, but imagine that the top openings of both
are at opposite ends and the joined bottom seams are in the middle.)
This ensures that the lining will never pull away from the bottom of the
box once it's completed.

Turn it right side out and pin or clip the top edge together. Baste all the way around.
|
| Clip the top edges together and baste... |
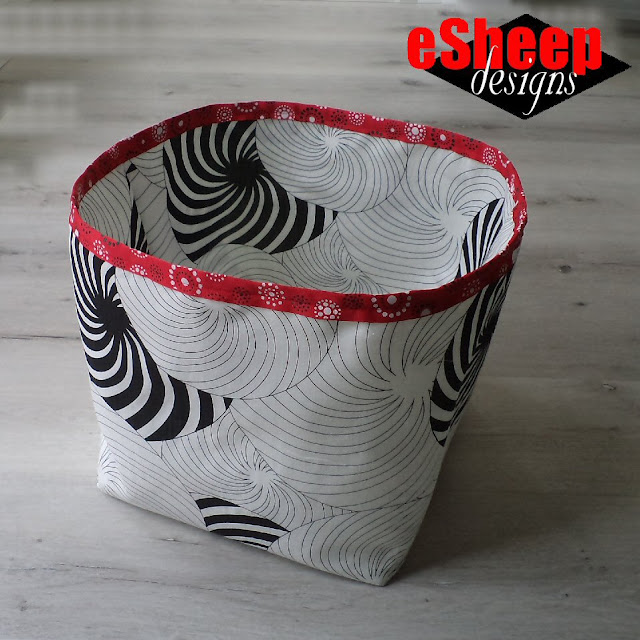
For binding the top edge, I used some 1.5" ribbon that I found in my stash. (I pressed it in half first so that it had a crease along its length, making it easier to wrap against the edge.) Otherwise, I would have made some 2" double folded binding for the job.
|
| Bind with regular binding or your choice of ribbon... |
If you do make your own binding, you can use straight 2" fabric strips; i.e., they don't have to be cut on the bias since the edge is not curved.

|
| Measure out the corners... |
After binding, measure out the distance of A from the center seam, in both directions. Do this around the top edge, close to the bottom, and somewhere in the middle. Mark with pins at each point.

|
| Pin along the vertical edges of the "corners"... |
Pinch each corner along the pins and replace them with clips if you have them. You will sew lines here to form the corners of the box.

|
| Sew along corner edges... |
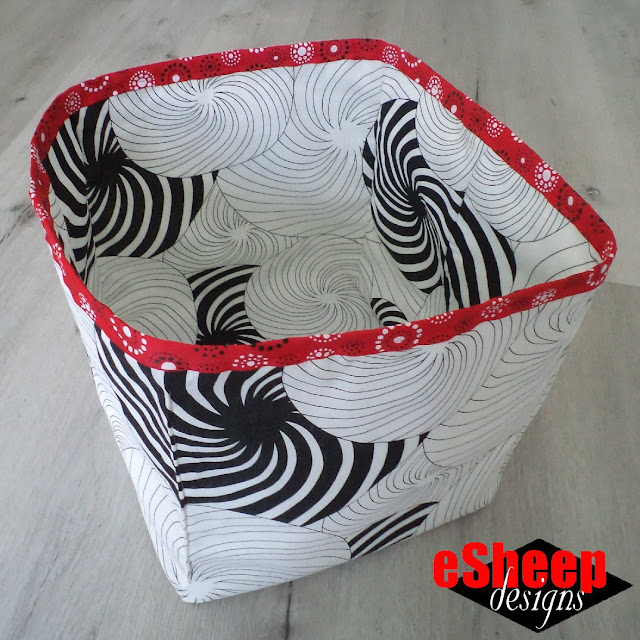
Sew about 3mm or 1/8" away from the edge, down the length of each corner, starting and stopping about 3cm (a little over an inch) from the top and bottom.
Sew the lining with a slightly larger seam allowance to ensure a snug
fit. (The improvement will be particularly apparent if you're making a
smaller box.)

|
| Finished interior... |
If you don't mind some wastage, for faster and easier cutting and fusing, you can cut entire rectangles — measuring B x (C+A) — first, fuse on the required interfacing and then cut away the A x A squares.
|
| Soft, but still stands up... |
You can easily add handles to this project. My preference would be to use rivets to add them after the fact, but they can also be incorporated into the top binding without the need for additional hardware.



No comments:
Post a Comment
You have the power to brighten my day. Leave me a comment; I'd love to hear your thoughts... you can even remain ANONYMOUS! And rest assured that I acknowledge all comments, either here or via email. (That is, if you don't see a response from me here, I would have responded privately to the person.) Spam or generic comments with unrelated links, however, are promptly removed... and I may take appropriate action or report you to Google. Thanks for reading! (✿◠‿◠)