 |
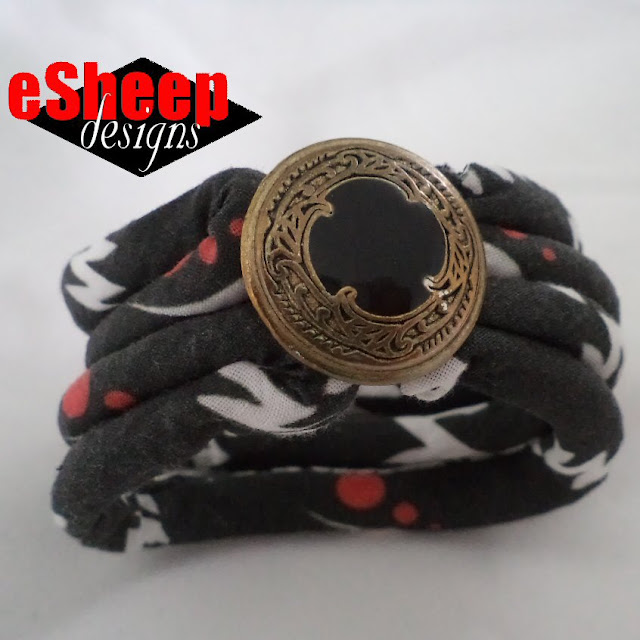
| Guess what this is? |
The inspiration came from the creative team at Dritz. Yep, the same folks who make all those nifty sewing tools and hardware.
I found their Make Something blog last fall and came across a cuff bracelet made out of fabric covered cord. I bookmarked it at the time, thinking it merited future consideration.
 |
| Two fabric cuff bracelets made out of Spoonflower swatches... |
Who would have thought that a Spoonflower swatch yields the perfect amount of fabric to create the bias strip needed to make this bracelet!
The original Dritz design features four "bangles", like the one with the button shown above.
When I made the first one, however, I decided to go with just three, for a couple of reasons. First, I didn't know how long a fabric strip I would get out of one swatch, and second, I was using a much thicker cord (rope) than the project called for and didn't want the additional bulk.
My wrist is rather small, so I used the cord to measure the length needed before I began. If you go by the tutorial's specs, you'll get a supposed "one size fits all" solution, but that may not be optimal if you're making this for yourself.
 |
| My version of the Dritz fabric covered cord bracelet... |
Being that the tutorial comes from Dritz, they showcased the finished bracelets with fancy hook and eye closures from their line of products. Since I'm in the habit of "making do with what's on hand", I — of course — went a different way.
In terms of what was on hand, it was these little paracord bracelet clasps.
 |
| "Back" view... I used little paracord bracelet closures instead of the fancy Dritz hardware... |
To make this with a Spoonflower swatch, cut it into 1.5" wide strips diagonally (i.e., on the bias) and then sew them together to make one long strip.
 |
| A couple of Spoonflower swatches cut diagonally into 1.5" strips... |
The two swatches shown here are Zig Zaggy and Zig Zag Multi, respectively. The ends of these strips are then sewn together to create one continuous length of fabric.
 |
| One long bias strip made out of one Spoonflower swatch... |
The tutorial instructs you on how to join the strips, pinning them right sides together at a ninety degree angle and then sewing a seam.
I found it easier to do it this way...
 |
| My method was to make a seam and then sew from the top... |
That is, I folded a quarter inch seam to the wrong side on one strip and then placed it on top of the next strip. I then sewed it from the top, very close to the folded edge. This resulted in a very straight strip of fabric.
When I used the method from the tutorial (which I did on the second bracelet), I ended up with an uneven edge because it's hard to be precise with the placement of the strips. Your mileage may vary; I'm just giving you an alternative method.
 |
| Triple and quadruple "bangle" cuff bracelets... |
Now for the part of the construction that gave me the fits! (And the reason why this post is not tagged under "easy sewing projects".)

The whole process of the "turn right side out with the help of a cord trapped inside" is a method I have seen before, generally used to turn skinny tubes. In this case, the instructions tell you to sew close to the cord for a snug but not overly tight fit.
It's all very well in theory, but both projects literally took hours to complete because of how difficult these are to turn right side out.
 |
| Modelling the bracelets... |
And the thing is, leaving a lot of room and having the fabric be loose around the cord isn't a good look. But if you strive for a snug fit (which I did, and which the project pictures from Dritz show), you'll have a heck of a time turning this right side out.
I managed to do it per the instructions for the first bracelet, mostly because it was shorter (i.e., it had three "bangles" rather than four) and I didn't lose my patience.
For the second one, I gave up after about a quarter of the way and just yanked the cord right out. (It's a fairly stiff poly cord.) I then turned the tube itself right side out, which was not easy, but I progressed at a faster pace than I was achieving with the cord still inside. Once that was done, I used a bodkin to thread the cord back in. I remain convinced that it was quicker to finish it this way than if I had continued with the prescribed technique.
 |
| I used a button and elastic hair tie closure on this one... |
Once you accomplish this task, however, you can relax and let creativity take over. Apart from the varied Dritz products, closures can be as simple as a button, as I've done here. (An elastic hair tie is used to loop around the button.) This project would also be a good way to use up small scraps of different fabrics.
By the way, I suppose a final project idea for Spoonflower swatches is to make your own funky bias tape out of them by joining together strips like the ones used here. I just might do that with the many that I have left.
And on that note, my personal Spoonflower swatch challenge is officially over... for now!

You should have coordinated with Pam today because she posted about using up fabric scraps for several kinds of projects. Always fun to see ways to use up fabric scraps.
ReplyDelete