|
|
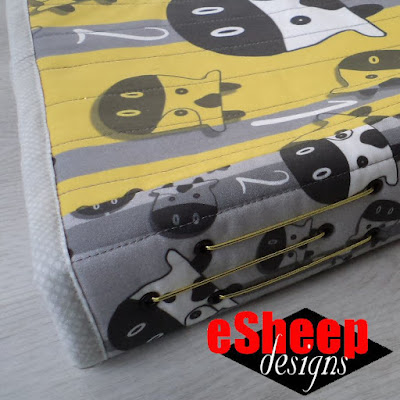
A sneak peek at my latest project... |
Actually, for me, it seems like tax time arrives as soon as the merriment of
the holiday season ends.
Our business has a year end of December 31, so by the time January rolls
around, I am gathering papers and downloading statements to hand over to our
accountant.
Add to this the fact that I handle the personal income tax returns for both
hubby and me and my mother.
I have a plastic accordion file organizer that holds most of the paperwork and
receipts required for this annual headache. But it's also a keeper for other
things and is somewhat tucked away, so I find it a bit of a hassle to take out
and put back, especially when stuff is arriving by mail on an almost daily
basis and I have to sort things properly before actually doing the tax
returns.
This year, I vowed to make myself a new organizer that would streamline the
whole storage conundrum. It would stay on my desk and be dedicated to
everything having to do with tax time.
When I ordered a one yard sampler of my
Year of the Ox
fabric collection, my plan was to use most of it to sew up a large
personal project portfolio.
For me, this thing would facilitate my paper shuffling during tax season, but
for anyone else reading this, it might be a WIP organizer or something that
allows you to take your sewing on the road.
In late February, I caught up on some missed YouTube projects and got
lucky with three tutorials that sparked my latest creation. (Oddly and
coincidentally enough, they were uploaded on consecutive days.)

|
| image courtesy of Atelier LoveYu on YouTube... |
First up is something called a Necessaire Book by
Atelier LoveYu, which appeared on February 13, 2021. Isn't it just totally cute?

|
|
image courtesy of Atelier LoveYu on YouTube... |
Practically speaking, however, this is both too big and too small for my
intended purposes. But it looks seriously awesome.

|
| image courtesy of Atelier LoveYu on YouTube... |
If you're searching for something to make as a gift for a young lady, this one is sure to please, IMHO.

The second tutorial is from Treasure Books, something called an Envelope Journal that was released on February 14, 2021.

|
| image courtesy of Treasure Books on YouTube... |
It's a paper-based project (although the exterior is wrapped in fabric), but
I've always liked taking ideas from the paper realm and applying them to
sewing.

|
| image courtesy of Treasure Books on YouTube... |
As it turned out, this project led to a couple of lightbulb moments for me, saving me a lot of time.
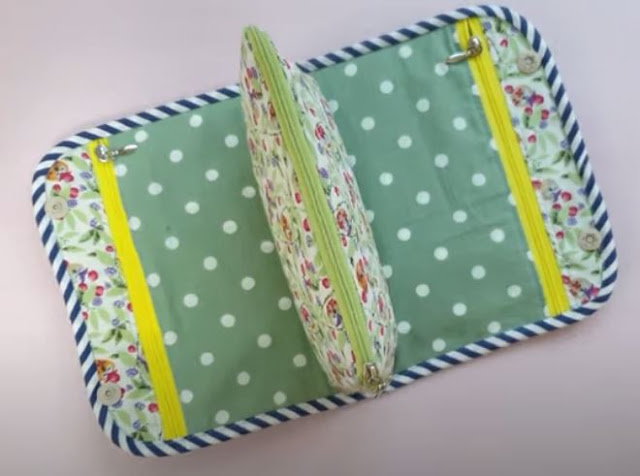
The third one is a project called a DIY Multi Pocket Pouch, from
JSDaily, one of my regular YouTube stops. It was uploaded on February 15,
2021.

|
| image courtesy of JSDaily on YouTube... |
This one would be easy to upsize. What caught my attention was the way the
middle pouch was attached. It made me think that one could always take an
existing zippered pouch — or two, like we don't all have many of
them — and then build this wrap around to create a brand new storage
solution.
Check out crafty classes at Creativebug!

[affiliate link]
So how did I deviate from the above projects on the way to making my personal project portfolio?

So how did I deviate from the above projects on the way to making my personal project portfolio?
First consideration had to do with size. None of the above were the right size
for what I needed; i.e., something that could hold not only standard letter
sized sheets of paper, but also file folders and manila envelopes. Something
similar to a large three ring binder would be a good basis for comparison.
Secondly, I wanted pockets with visibility. That eliminated the idea of
pouches and pockets made out of fabric that I wouldn't be able to see through.
Given that I never wanted to use a lot of fabric anyway — which one can't help
but do when making pockets and pouches out of fabric in the size that I was
contemplating — finding a viable alternative for this was a must.

|
| A secret "ingredient"... |
The thrifty part of me also wanted to minimize requirements for interfacing.
The Necessaire Book project looks nice and puffy as a result of some
"acrylic blanket" equivalent interfacing. If I were to upsize that organizer,
it might wind up being a foot thick once I put stuff into it... never mind
costing a bundle in terms of interfacing.
It was helpful to be able to see the various ways in which pockets can be
oriented and secured from the above tutorials. My writeup for this project
encompassed four pages in my planning notebook, but they weren't filled with
wordy instructions. It was mostly diagrams that I redrew as I made changes
to the original plan.
What I'm saying is that it ended up being fairly easy to pull off. Come back
next week to see how I cobbled together a personal project portfolio with a mix of store bought and self sewn
parts.
Do you have an organizer that you've been waiting to make?


Can't wait till next week.
ReplyDeleteWell, there's a comment a blogger always likes to wake up to... thanks a bunch and hope the result meets with the anticipation!
DeleteTease
ReplyDelete