 |
| A "designer" bag, shown next to my pin jar for scale... |
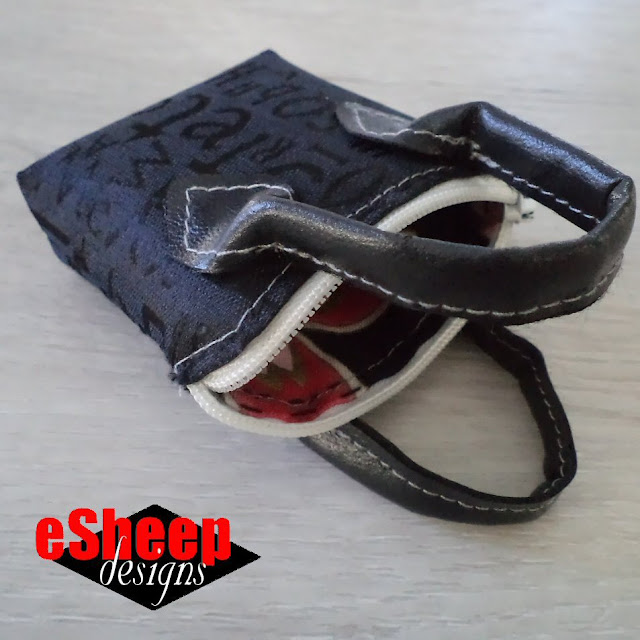
This is a tiny purse that's meant to be hung from a keychain or something and used as bag bling. (It does open up, however, so it's not entirely frivolous!)
It's based on a project I found on a YouTube channel that originally called for faux leather. I decided to use a thinner vinyl that I had in my stash, recycled from a dollar store item. The substitution was not entirely successful, as the handles do not have the fullness that would result from a thicker material.
That said, I managed to eliminate a lot of the hand sewing by using the vinyl, which is always a plus in my book. ;-)
The only part that was hand sewn here was the zipper. It was potentially way too fiddly for me to consider running it through the machine.

The only template required for this project is a small rectangular piece, measuring 9cm wide by 16cm high. It is folded in half before the top corners are rounded off, and 1cm squares are cut from the corners along the folded edge. (If you want approximate imperial measurements, I suggest 3.5" wide by 6" high and then cut out 1/2" squares.)
 |
| A very simple template to arrive at the main body pieces... |
Once unfolded, the template is used "as is" to cut out the faux leather/vinyl. For the fabric lining piece, another 1cm is added to each end as shown above (go with 3/8" if you're using imperial measurements). That extra material is then folded to the wrong side and sewn down to create a finished edge at the top.
 |
| Standing up... |
As you might guess, the cutout squares are used to create a boxed bottom.
 |
| Closed on its side... |
Construction of this is fairly straight-forward. For both pieces, put right sides together and sew up the sides, then box the corners. Turn the exterior piece right side out, drop the lining into it and then hand sew the zipper in between the two.
 |
| Angled view of boxed bottom... |
I chose to run some top-stitching around the top edge of the exterior piece to add some visual interest and to match what I planned to do with the handles.
The video tutorial doesn't provide any indication of seam allowances but with something like this, you might want to sew the lining seams a bit larger than the exterior seams so that the lining fits better inside. (I used seam allowances of 1/8" to 1/4".)
 |
| View of interior lining... |
I used black thread to sew on the zipper because I didn't want the stitches to be visible on the exterior (having already sewn the topstitching that was meant to be visible).

The handles are created out of two pieces measuring 2cm by 15cm each (or 3/4" x 6"). The ends are cut into a "v" shape, which is left open and is the part that you see attached to the body of the bag. Beyond that, the two long edges are sewn together. (You can see how my handles don't quite bend smoothly; that's due to the thin vinyl.)
 |
| Open on its side... |
Since I didn't have any bling-y faux jewels to stick in the middle of those strap anchors, my alternative was to topstitch around them to make them pop a bit.
The handles were hot-glued onto the bag as the final step. (In the original tutorial, the maker hand sews them onto the exterior piece before attaching the lining and zipper.)
A final addition of a small split ring and a snap hook completes the item.
 |
| The hardware is recycled from something (I don't recall what)... |
By the way, I would normally provide a link back to the original tutorial, but this particular YouTube channel regularly employs a subtle form of clickbait that I'd rather not support. (She promotes her videos with images that are not of her actual finished projects and in fact may be photos of other crafters' creations. While it's not as blatant as the most insidious of online clickbait, it's still dishonest.) If you're interested, however, you can easily search for "mini handbag keychain".
 |
| My new bag bling... |
Now to decide what to put in this thing!

Cute, but sewing that small is too fiddly for me! It would make a nice coin purse.
ReplyDelete