|
|
A new pouch for hubby... |
Slowly, over the past couple of years, his favourite little speaker conked
out on him. The one that he now uses to power his portable music is a much
larger unit (shown below) and will not fit in the Grab 'n' Go.

|
| Portable but not small... |
When I saw that he was carting it around in bubble wrap and a plastic bag
while we were on vacation several weeks ago, I was determined to make him a
new storage solution.
Whatever it would be, however, would also have to accommodate all the other
stuff that he currently keeps for both his cell phone and Mp3 music player.
(Having two separate organizers wouldn't be efficient or ideal.) Therefore,
I was envisioning a zippered pouch with some elastic holders on the inside
and maybe a pocket or two.

Watch live classes for FREE at CreativeLive!

[affiliate link]

In the interests of not having to reinvent the wheel, I figured one of my
regular YouTube channels would have something to fit the
bill. I came upon three distinctive pouches that I thought deserved some
consideration.
First up is Tendersmile Handmade's Travel Toiletry Pouch Bag, a tutorial uploaded Jan 24, 2020.

|
| image courtesy of Tendersmile Handmade... |
It's another take on the more masculine "Dopp kit" variant of toiletry
bag. I don't remember the finished size of this thing, but I was prepared
to make adjustments for that in any case. It's important that whatever
pouch design I go with, it has to be easy to open up and access.
The Double Zip Gear Bag was uploaded to Sewingtimes' channel on March 11, 2021. I considered this one only briefly, because
although the double zipper design is somewhat clever and different (at
least it was the first time that I saw this particular design a few years
ago), I suspected that in actual use, it would end up being cumbersome.

|
| image courtesy of Sewingtimes... |
Why have two zippers when one will do? A bigger opening for better access,
perhaps? Maybe, but this thing is not big enough to have that problem.
Also, like the first one, this is a boxier shape than would be needed.
The third one ended up being the perfect pouch. This
Standing Makeup Pouch was uploaded by
Tendersmile Handmade on July 28, 2020.

|
| Image courtesy of Tendersmile Handmade... |
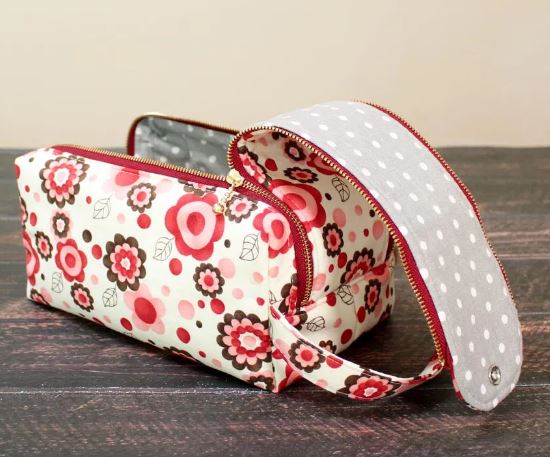
It's a rectangular zippered gusset type of pouch, with a variety of
elastics and pockets on the inside. When I checked the finished size, my
decision was made by the fact that the dimensions wouldn't have to be
changed at all. At just over 7" high by about 5" wide and 2.75" deep, it
would accommodate the speaker and other accessories just fine.
How's that for perfect?

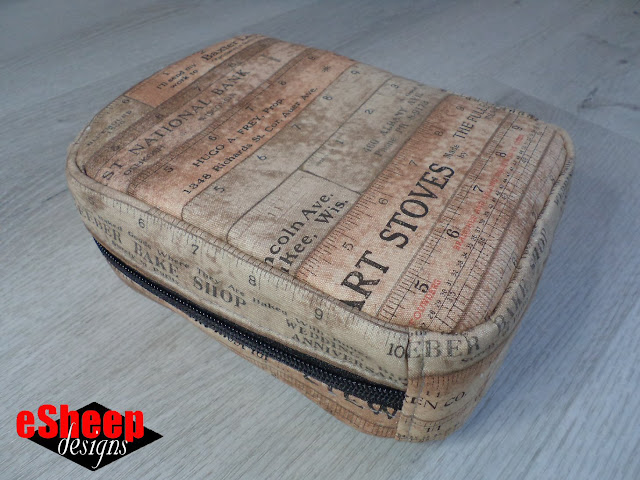
Project decided on, I looked for the perfect fabric. I already knew I was
going into my Tim Holtz fat quarters again; it was just a matter of
which one. (So add another project to
this list
from a month ago.) This selection is called Rulers.

|
| Another Tim Holtz fat quarter committed... |
It's a "dirty" shade of brown and is well suited for a guy. (For the
lining, I used the cream solid that came with my
Boundless DECOdent bundle.)
The video tutorial comes with a link to a pattern template. I used the
main body template only because the other two pieces didn't seem to match
up with anything else as described in the video. For this project, I
relied on the metric measurements as I didn't want a repeat of whatever
was "off" when I made the
patchwork pouch. Given that the gusset has to fit around the two main panels with no
room for error, the dimensions provided were spot on.

|
| Mesh and rivets add to the look... |
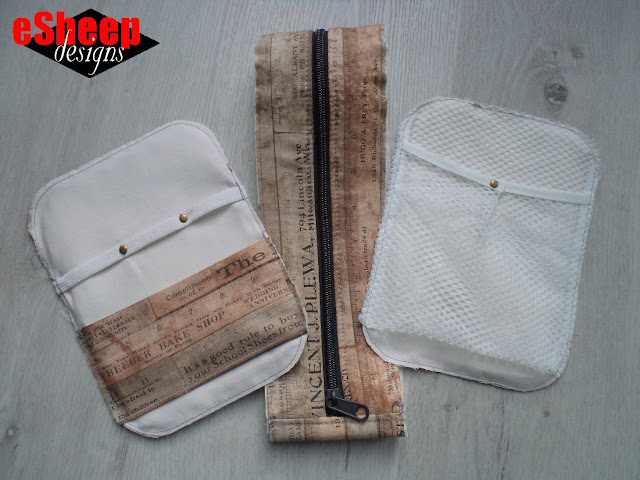
For the inside, I found a mesh pocket in my stash of "stuff that I kept
from whatever" and successfully recycled it into a slip pocket. The
top edge hung a bit loosely, so I folded a small pleat and used a rivet to
hold it together. On the opposite side, some elastic was divided into
three sections, with a couple more rivets being used to create the
divisions.
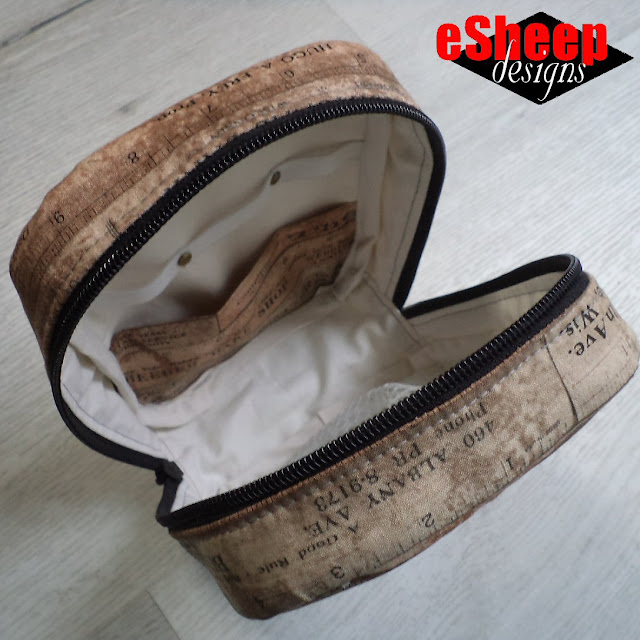
Unlike the last time I attempted a pouch like this, these inside seams are bound with bias tape. To be honest, I don't
remember exactly how I finished the inside edges so neatly on that
previous occasion, but binding this one was actually a lot of work...
especially when the area being bound doesn't lie flat.

|
| Binding hides the interior seams... |
Not only that, making this style of a pouch is always a bit on the
challenging side. It's not inherently difficult — don't get me wrong — but
sewing those panels to the gusset around the corners is not something I'd
call fun. (And you have to do it twice.) To minimize any potential hair
pulling, I decided early on to hand baste those corners first.

|
| View of mesh pocket... |
That said, it's always a feather in one's cap to complete one of these
pouches. On that note, I did not add the two side "stopper" panels that
essentially keep the pouch standing upright.

|
| Opposite interior view... |
For hubby's intended use, I thought it would be better if he could flip
the pouch wide open any which way so that his (larger) hands can access
everything.

|
| Standing up... |
Not only is this big enough for the speaker and its accessories, there is
sufficient room for other cords, cables, and a power bank.
I spent the better part of two days on this project. The cutting and
fusing and sewing the gusset took up day one; the rest of the sewing
happened on day two.

|
| "Back" side... |
Hubby appreciates it; he even asked me if there was any significance to
the fabric. He had thought it intriguing to find the
words macaroni, spaghetti, egg noodles in one corner of the pouch. (I had to do an online search to find
out the entire quote of "don't be afraid to [send] the children"!)
I then told him the whole Tim Holtz story, which was particularly
apt as that was the week that I posted about all my previous
Eclectic Elements fabric projects.
On the day that I finished, hubby offered to make dinner since I was so
busy all day. ;-)


I love how most of your projects are based on a practical and personal need. Then you apply your creativity and tenacity to create and share with us. No matter where your next chapter leads you, this is part of your legacy. Congrats./Kris H
ReplyDeleteHi Rochelle, this is a great sized and shaped pouch that I will need to make multiples of… one with a back band to slide a belt through and use as a belt pouch, and another with an over the shoulder strap. I love those inside pockets and the elastic band with rivets is inspiring for all my bag making adventures! Thanks for sharing/inspiring!!! Marie
ReplyDeleteWelcome, Marie! The size of this would make it a decent shoulder bag, for sure. (Personally, I'd want it a bit thinner for a belt pouch, but to each her own.) Lots of options for customizing the interior, so best of luck with your "multiples"!
Delete