|
|
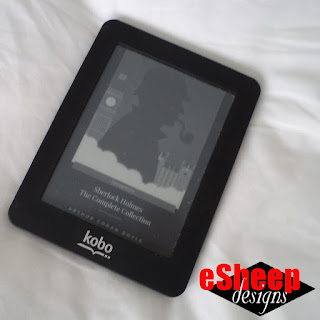
My eight year old Kobo Mini eReader... |
After all, how can you replace the experience of reading an actual book?
I was also under the (mistaken) impression that they needed to be charged with
the same frequency as our other electronic gadgets. Who wants to run out of
juice right in the middle of an exciting chapter?
Once it was explained to me that a single charge can last a month — or longer,
depending on how often it's used — I reconsidered my opinion. After all, for
traveling, it certainly beats toting around actual books. (No argument that one's range of choice of reading material is greatly expanded with this small device.)
When I encountered a "you can't pass this up" price of only $40 for a Kobo Mini, I jumped on board the eReader bandwagon and haven't looked back
since. I subsequently picked up a leatherette case for it on eBay for $5.30
(shipping included). That was 2014.

Eight years on and that case is definitely showing signs of wear and tear. It's also now been a decade since the Mini's original release and with Kobo officially abandoning it in 2019, no one is selling accessories for it anymore. At least, not at a price that I care to pay.

|
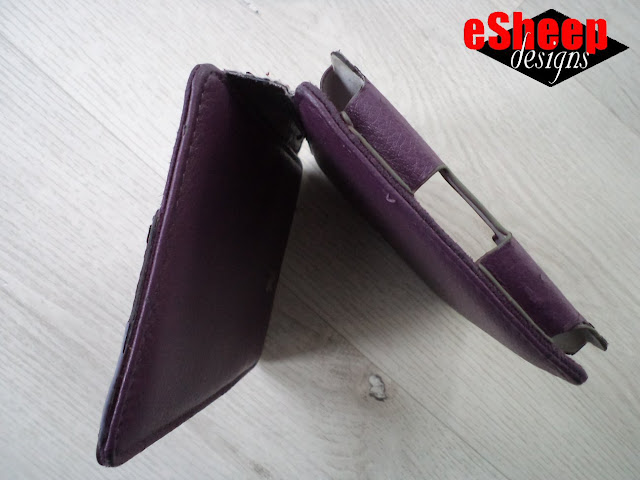
| Front and back of my current eReader case... |
So, in an odd turn of events, I've decided to tackle a project that I briefly
considered in 2014: to sew a case for my Kobo Mini. Didn't make sense
back then when I could buy one for almost peanuts, but obsolescence has changed all that.

|
| View of inside... |
Since I like virtually everything about this case, it's once again a see it — like it — make it project. Easier this time because I have the original item and can make accurate — down to an eighth of an inch — measurements and peek around corners to see how things are constructed.
But it's still a problem solving exercise since this original case is made out of non-fraying materials and I'm going to be working with fabric.
|
| View of the bottom... |
The biggest challenge is finding a way to replicate the slip-in feature. I know that many DIY solutions employ diagonal elastic in the corners to hold things in place — kind of like old time
photo corners (remember those??) — but sorry, that would look too DIY for
me. Lacks elegance.

|
| Side view... |
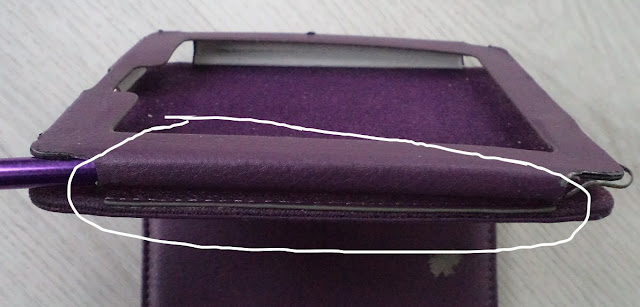
Therefore, I've been ruminating on this project since late last year, trying to figure out how to recreate this "harness" (for lack of a better word); i.e., the stiff frame with soft sides sewn to the base that holds the device in place.
It also isn't particularly obvious how best to approximate the book-like structure of the case. As sewers, our usual "go to" method is to stitch
two pieces together and then turn it right side out to make something with a
front and a back, much like you would a wallet. I could envision early on,
however, that that wouldn't be the right approach for this.

As part of my routine whenever I start thinking about making something, I
take out my project book and start measuring and scribbling notes, hoping
that the process triggers some lightbulbs.
Except that this time, apart from my carefully considered measurements and
general thought about how I wanted to change up the orientation — I wanted
my case to open up like a notepad instead of a book — I didn't get very
far in documenting any actual steps.
|
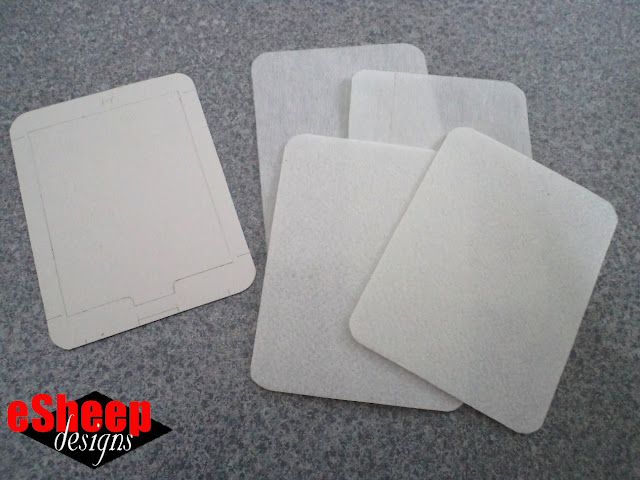
| Make a template... |
Towards the end of February, I decided just to start. By then, I had found a solution for the book cover part and wanted to begin, with the expectation that
clouds might lift as I went along... you know, sort of like
crafting on the fly.
My first task was to make a detailed template out of card stock. Not only does it function as a template for the main panels of the case, it replicates the outline of the frame that surrounds the device.
|
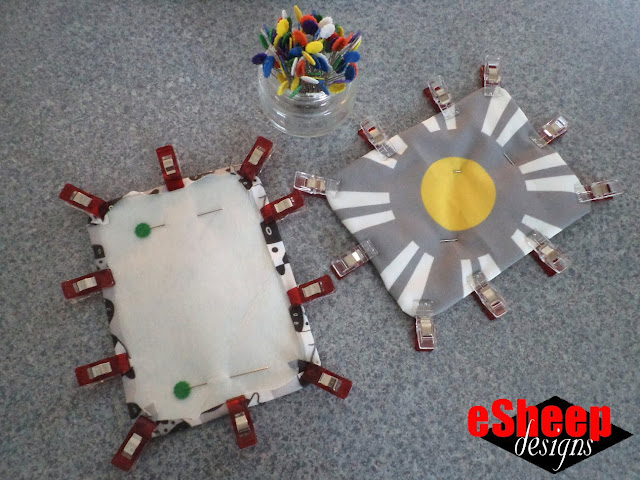
| Making the exterior panels... |
I used it to cut out two pieces each of Peltex and Decor Bond. My plan was to cover them with fabric and then sew them together back to back to create the interior and exterior of the cover. It seemed an ideal way to simulate the look and feel of the original case, and didn't require turning anything right side out.
Armed with remnants of my 2021 Spoonflower competition entry fabrics
(Year of the Ox
and
Yellow and Gray), I cut pieces about a half inch larger than the template, to allow just
enough to wrap around the edge of the interfacing.
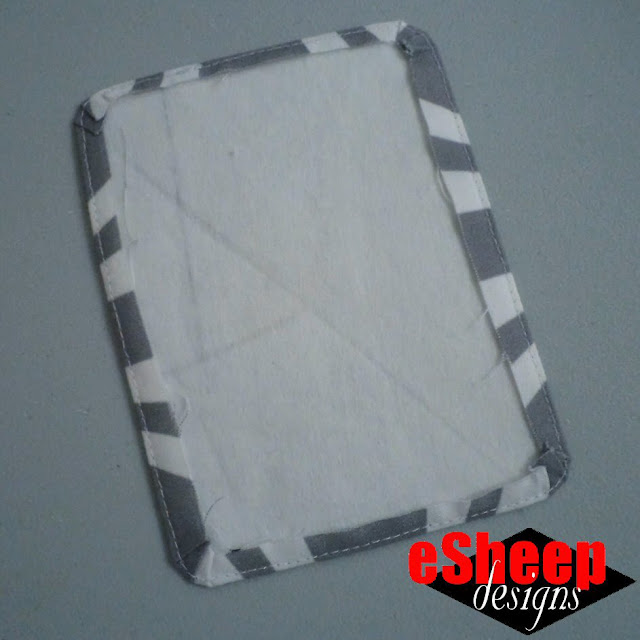
|
| Inside of the exterior (back) panel... |
The original case is padded on the outside. To give the new one some similar softness, I added a layer of fusible fleece to the exterior fabric
before "sealing" it in with the Decor Bond. I then sewed around the
edge.
The interior of the original case is firm and likely contains cardboard; I
used Peltex to reproduce that stiffness. This time, I left the
fusible side of the Peltex exposed on the back, so that when the two parts are sewn back to back later, they can also be somewhat fused together.

|
| Fabric covered Peltex piece for the interior of the case... |
This setup also lets me fuse the edge of the fabric underneath.
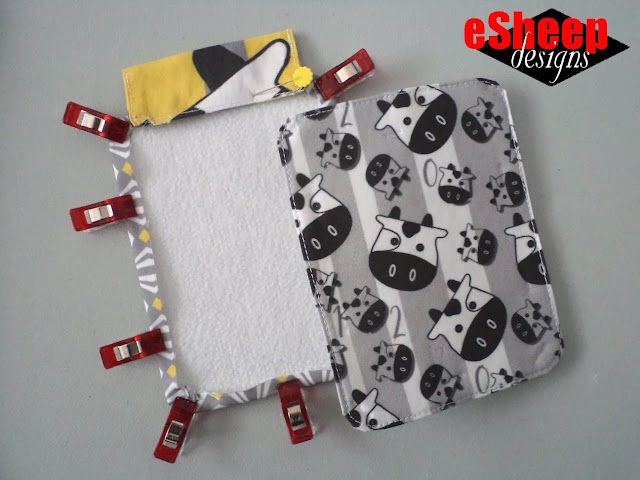
The soft "spine" of the case was established with the bit of fabric that you
see above. It's meant to be sandwiched between the two layers, but was sewn
onto the Peltex layer first to ensure that it would end up
straight.
|
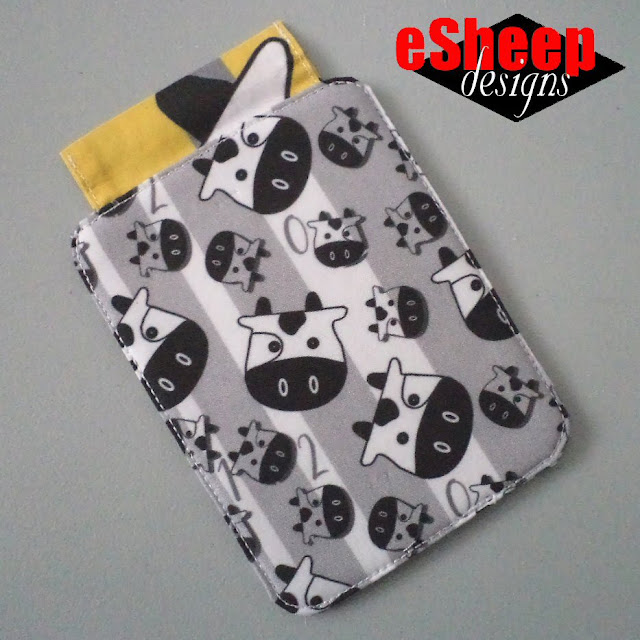
| Finished front cover... |
And here is the finished front cover of the case, after sewing the two halves together.
By the way, I had measured beforehand to confirm that putting the spine at the top
of the case would still allow the original stylus to be held in place there.
It's essentially as long as the unit is wide.

Remember how I hoped that moving forward with the project would help develop further clarity?
|
| How do I replicate this? |
After I started, the obvious solution to use more Peltex to
create that supporting harness occurred to me, but I was still stumped by the
problem of how to cover it with fabric and yet still have more fabric coming down along the sides (i.e., the extension pieces
that are sewn to the base).

|
| This cutting requires a sharp knife, patience and precision... |
I'm gonna hit pause here and let you ruminate on how to solve this problem. Let me know your thoughts on how you'd proceed.
My answer came to me in the middle of the night. I almost got up to test it out. ʘ‿ʘ


No comments:
Post a Comment
You have the power to brighten my day. Leave me a comment; I'd love to hear your thoughts... you can even remain ANONYMOUS! And rest assured that I acknowledge all comments, either here or via email. (That is, if you don't see a response from me here, I would have responded privately to the person.) Spam or generic comments with unrelated links, however, are promptly removed... and I may take appropriate action or report you to Google. Thanks for reading! (✿◠‿◠)