
|
|
Five pages of "duffle planning"! |
A little over a year ago, I posted about my "duffle dilemma". Seems I'm drawn to various DIY duffle bag projects but have reservations
about making one. Apart from the need to use up large amounts of fabric, the
other reservation was that I did not need one, having a store bought
version that met my needs (and has done so for decades).

As 2021 drew to a close, I felt more and more certain about taking on this challenge. And a challenge it's going to be, because while I looked to a couple of YouTube tutorials as my guide, my finished bag is going to be different from either one.
Check out crafty classes at Creativebug!

[affiliate link]
During one of the few times that I managed to use the duffle last year, I
noticed that a seam was starting to come apart and thought to myself, is
this fate's way of telling me that I should pursue a duffle bag
project?
Probably not, considering it isn't hard to fix the seam that's coming
apart.
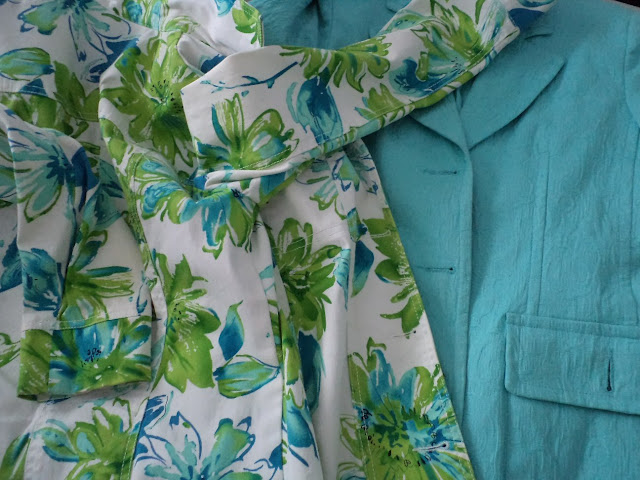
|
| One jacket hugging the other before the "sacrifice"...! |
But late last year I posted/started posting about a
bucket list
of things that I wanted to do before retiring this blog. The two items of
clothing that I was considering tearing up to repurpose into "something
else" kept reappearing before my eyes as a duffle bag.

As 2021 drew to a close, I felt more and more certain about taking on this challenge. And a challenge it's going to be, because while I looked to a couple of YouTube tutorials as my guide, my finished bag is going to be different from either one.
First of all, I need it to be bigger. A duffle that can't hold
near the same as my regular bag is not going to get used and will be a
waste of my fabric and efforts.
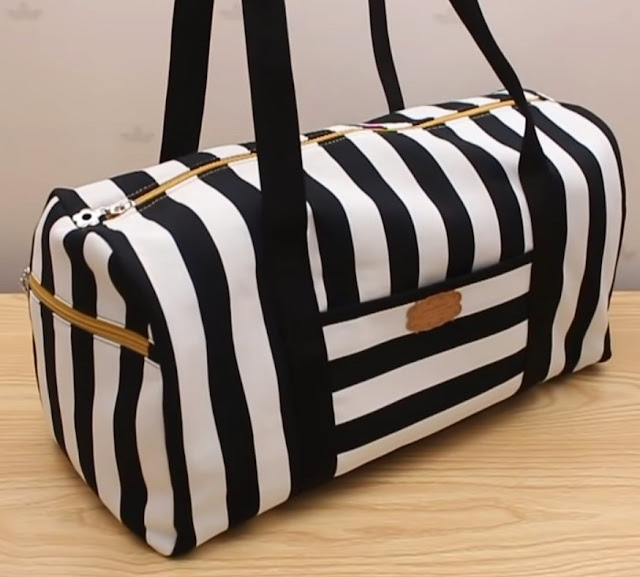
This weekend bag from the YouTube channel of
sewingtimes (uploaded August 26, 2019) is very neatly
constructed and I intend to follow her technique for putting in the
lining, despite the need to hand sew it (!) to the main zipper when
attaching it.
|
| image courtesy of sewingtimes (YouTube)... |
It is, however, at 18" x 9.5" x 9", a few inches smaller than I'd like.
I'm looking for mine to be about 21" long by 11" high by 10" wide, which
is approximately the size of my black and purple bag.

|
| image courtesy of Sewing Line (YouTube)... |
This other duffle, from the YouTube channel of
Sewing Line (called DIY travel bag, uploaded January 18, 2021 with
questionable video quality; hence the small picture), features a
multitude of pockets and finishes out at about 19.5" x 10" x 7.75".
I know; in essence, neither bag is that far off from the size that I
want. But since I have to cobble together the fabric for this project
from a couple of garments anyway, I suspect that it won't involve that
much extra work doing it in a custom size versus according to one of
these patterns.
Having watched several videos for making duffle bags, I have concluded
that the process is not that complex. There are only five main
"pieces" to put together: two ends, two sides (that wrap around to form
the zippered top), and a base. (Of course, the ends and the sides could be made
up of several layers when pockets are involved.) The most difficult
part is attaching the ends to the body, because at that point, it's
essentially fitting a flat piece onto a cylinder and that's always
tricky.
My main challenge for this project will be centered on allocation of
fabric. I only have so much of it, so size and number of pockets will be
restricted. Not only that, both jackets are fitted, so cutting straight
pieces won't be easy.
Speaking of pockets, though...

|
| A ready made pocket ready to be repurposed... |
I fully intend to reuse the two front pockets from the long jacket on
the sides of the duffle between the straps. Why waste something that's
already made?
The long jacket also has a satin lining that I can reuse for any pocket linings.
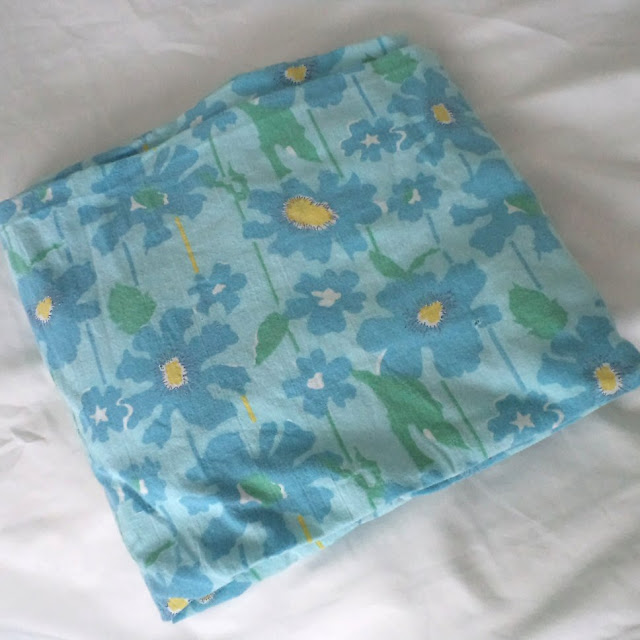
Speaking of lining, at least I don't have to worry about it: this old bedsheet will
yield plenty of fabric.
|
| Bedsheet for lining... |
Having established the desired dimensions for this duffle, the next
step was to figure out measurements for the main components and then
see where they would come from in terms of my two clothing items. This
part was not fun. It took me days to complete... partly because it
wasn't fun and I couldn't convince myself to spend a continuous amount of time on it.
To appreciate why this wasn't fun, here's the process. Let's say that from my overall bag dimensions, I calculated that I needed a piece measuring 5.5" x 11". This would then have to have a seam allowance added to it, which is straight forward enough. But if that 5.5" x 11" piece itself needs to be pieced — due to not being able to harvest something that size from the source garment — I'd have to accommodate yet another seam allowance for that piecing. Basically, with every small piece that needed to be sewn together to create a bigger piece, I needed to add inches in a situation where I was already limited in terms of available inches.

Anyway, after many hours of scrawling in my notebook, I finally got to the point of being able to make a list of the pieces that I needed and where they would come from.
It became obvious while doing this planning and allocation that I
would have to use the seam ripper on occasion to access the full
width of the material. (I would say that ideally — and it's what I see from other crafters — if you were
to harvest fabric from clothing, it would be most efficient just to
trim away the existing seams. It's what I did with the sleeves from
both garments.)

|
| Sturdy seams! |
Anyway, I have to say that these were well made. The seams were
certainly not meant to fail on their own; in most cases, they were
overlocked, turned and topstitched.
Several days of seam ripping later, I was able to draw the basic
pieces onto the back of the fabric, do some actual cutting — yes,
the jackets are no longer jackets; I am committed — and then sit
back for a well earned breather.

|
| Sleeves were the first to go... |
What? Did you think this was going to be fast? Or that with a
certain push to keep blogging, I would reveal all in one post??
I think not. (ಠ‿ಠ)
Those of you who are somewhat regular readers here know that I am not on
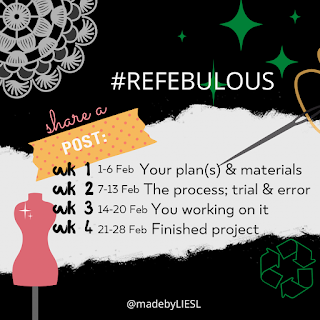
any social media platforms other than blogger, but I would like to draw your attention to a challenge that
Bernina is running this month via Instagram.
(Apparently this is the third year in a row that they've done this
promo, complete with prizes.)
|
| image courtesy of Bernina... |
It's about sustainable refashioning, or in their words, "The goal of this sustainable sewing challenge is to motivate and
inspire everyone to reuse, repair and restyle clothing and fabrics. In
other words, to turn an existing garment or fabric into something
REFEBULOUS!"




I like the 2 jacket colors you have and I am sure your duffle came out as nice as you imagined it to be. Good for upcycling those jackets. I have been upcycling denim jeans lately making purses for the Sew Powerful Purse Project. It's nice that they can be repurposed into something else that will be useful. I have been able to get 3 purses out of a pair of men's jeans. But those back pockets I wanted to use were larger than the measurements I needed to cut, so they will be used and made into something else. Happy sewing!
ReplyDeleteThanks for the inspiration Rochelle!
ReplyDeleteI've been looking at the Grainline Studio duffle (20" L, 11.5" W, 12" H) in their Portside Travel Set. Googling revealed that Grainline only sells PDFs now. (I abhor PDFs. Just personal preference.) I was just able to buy the paper pattern for the same price as the PDF (including shipping). Last one available at that price, so thank you!
Now I'm pondering making the duffle utilizing the pile of worn out jeans in the sewing loft. I have a new pack of jean needles, but I think I'll look at the sew-along and ponder the thickness of some of the seams! Hmmm...
First of all, I have no words for why a PDF for this sort of project should cost $16. (I mean, most of us probably wouldn't pay $16 for the latest must-read bestseller in electronic format.) At least you received large amounts of paper delivered to your house for that price, so kudos to you. Rant over with, you're welcome for the inspiration. :-)
DeleteYour plan to use old jeans for this is quite reasonable, especially if you're set up with the right tools. (In my reply to Daryl, I said that while I don't usually like denim, there are particular applications that work well.) My duffle had some really thick parts to go over and I didn't even use a jeans needle.
I briefly looked at that sew-along and thought the little leather zipper pulls were quite clever. I may have to try them out. Good luck to you and please report back on your progress if you can.